Nightstands
August 8 2023
How I built nightstands
Rather than donating my family’s old futon, we opted to reuse the wood for other projects. I decided to try building myself some nightstands.
Phase 1: Design and Tops/Bottoms
This project started out over the 2021 Christmas holiday. I had a lot of fun just hanging out in my dad’s shop, slowly making progress on the design and construction of these nightstands.
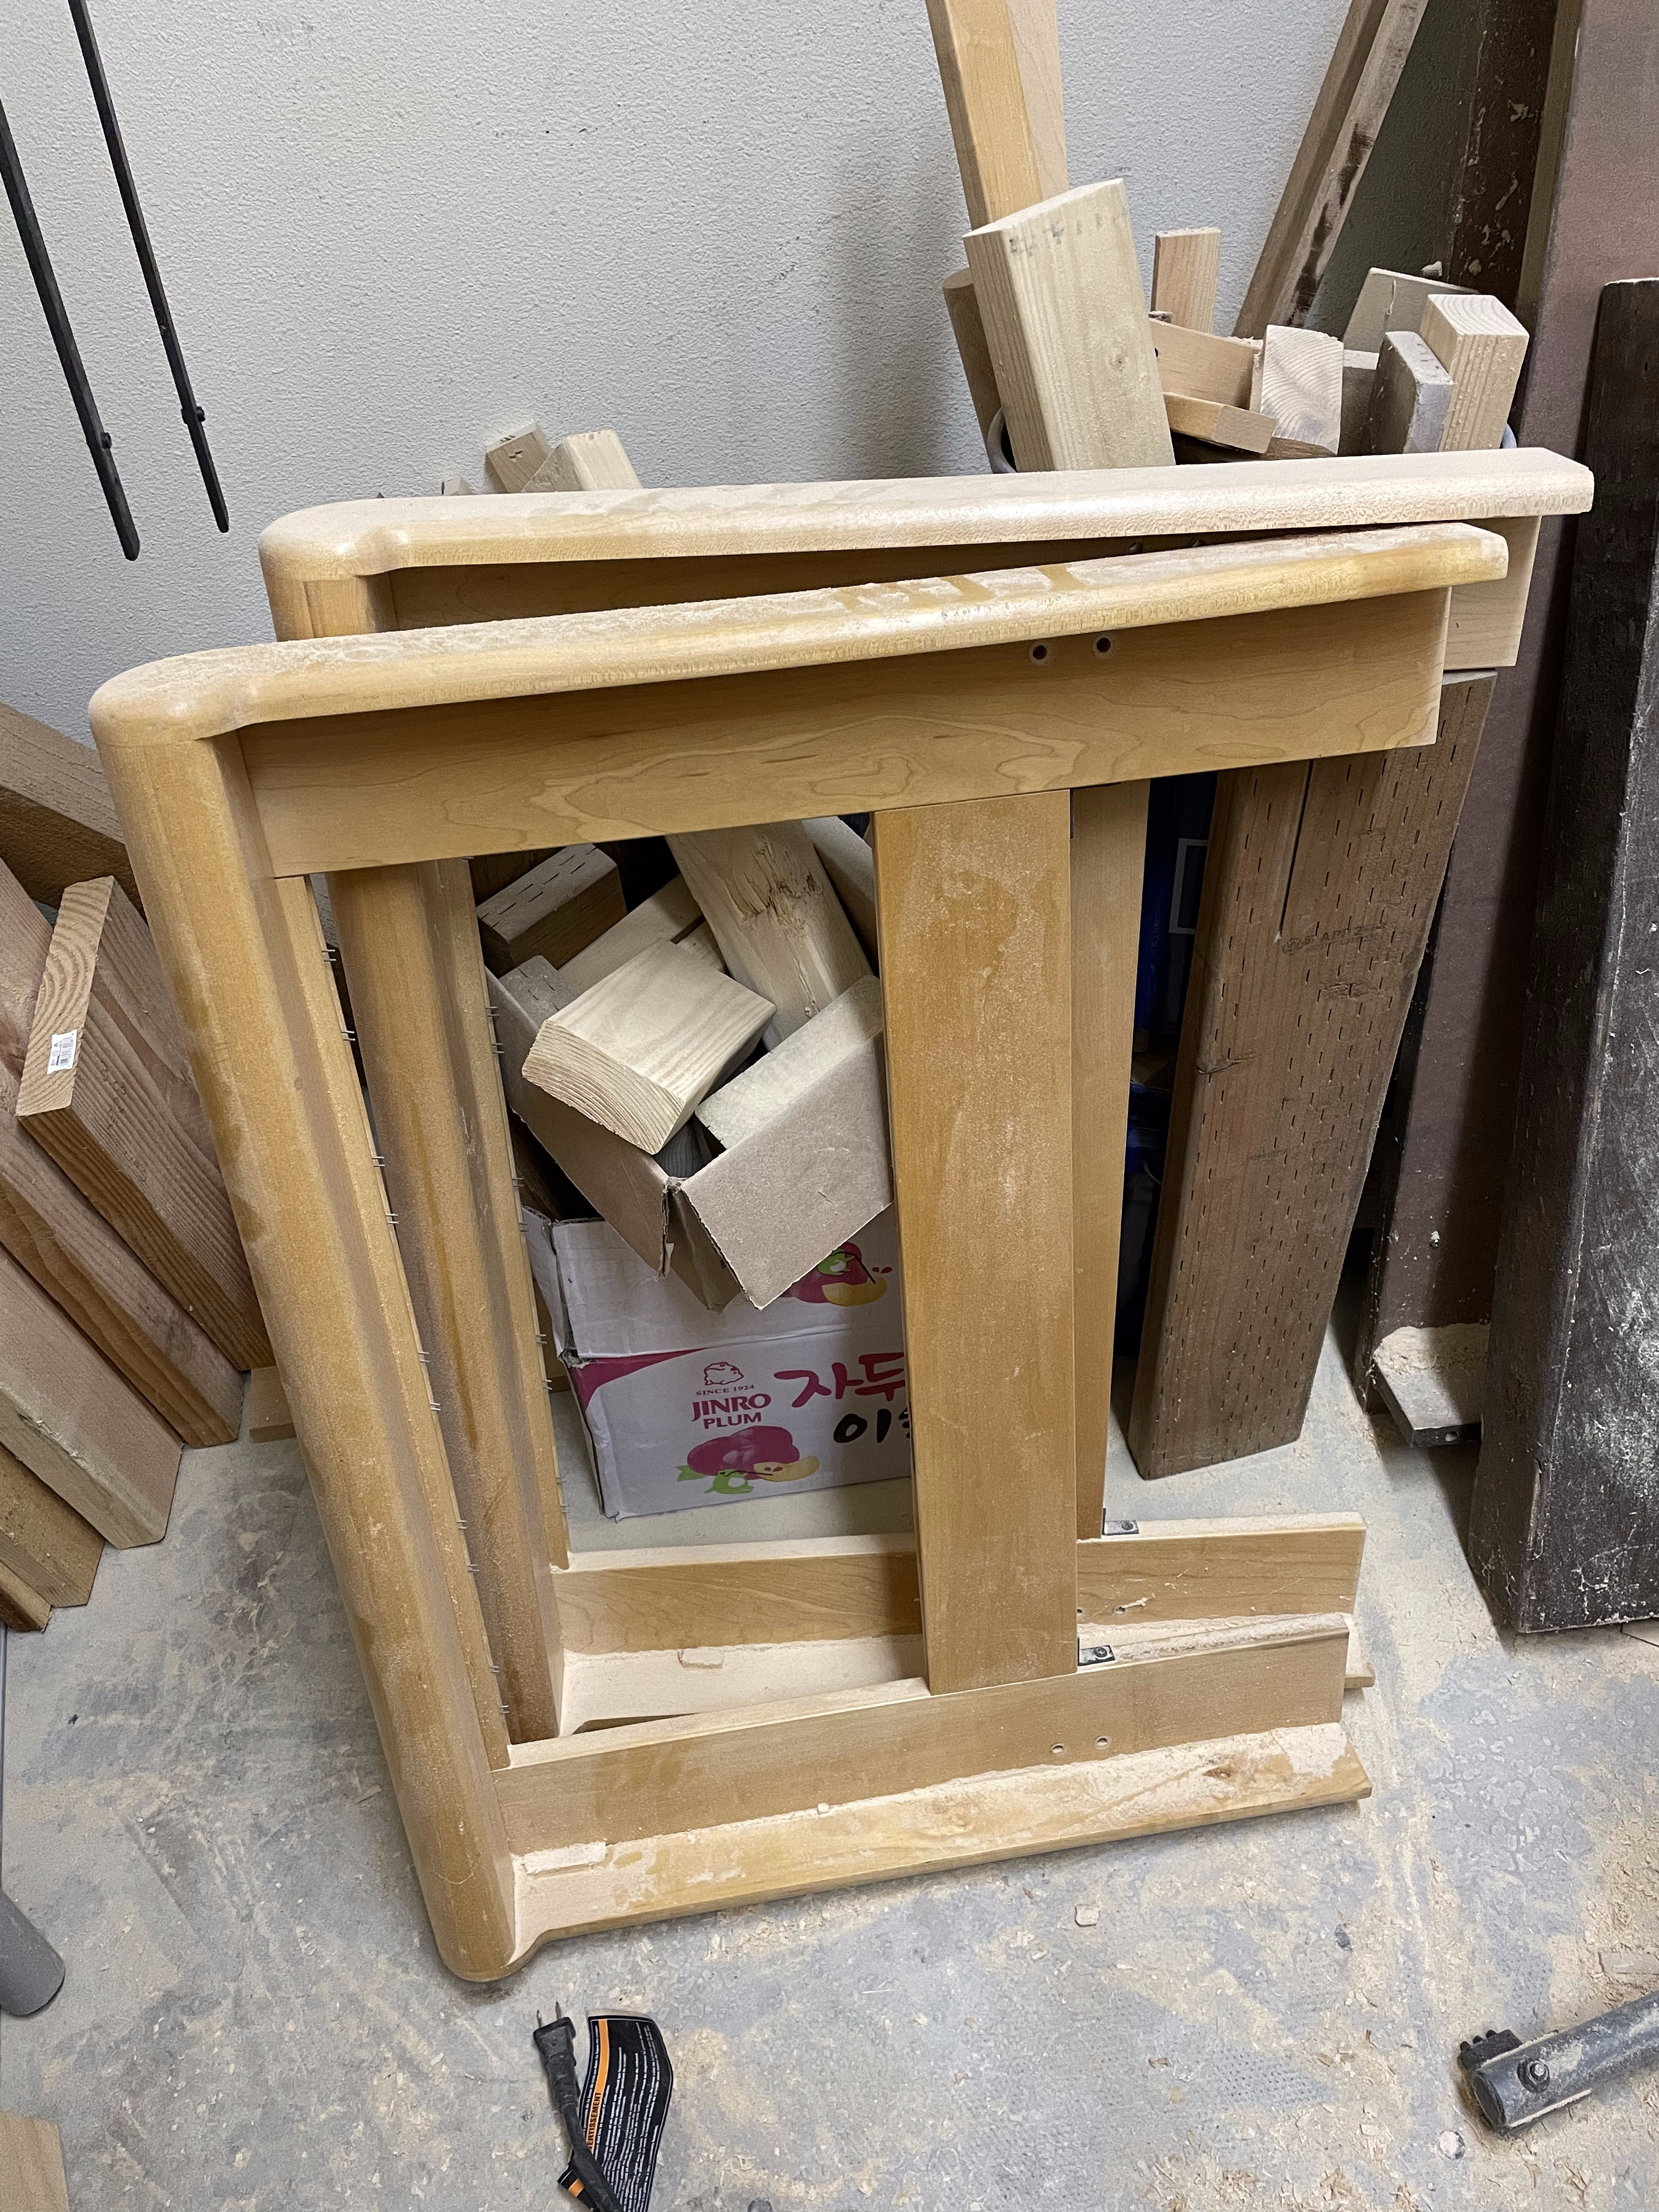
I ripped out all of the smaller pieces of wood from the futon I could. It ended up where I had a fair bit of thinner, wider planks and quite a lot of thicker but narrower slats. As such, I ended up coming up with a design that would use the slats nearly as-is.
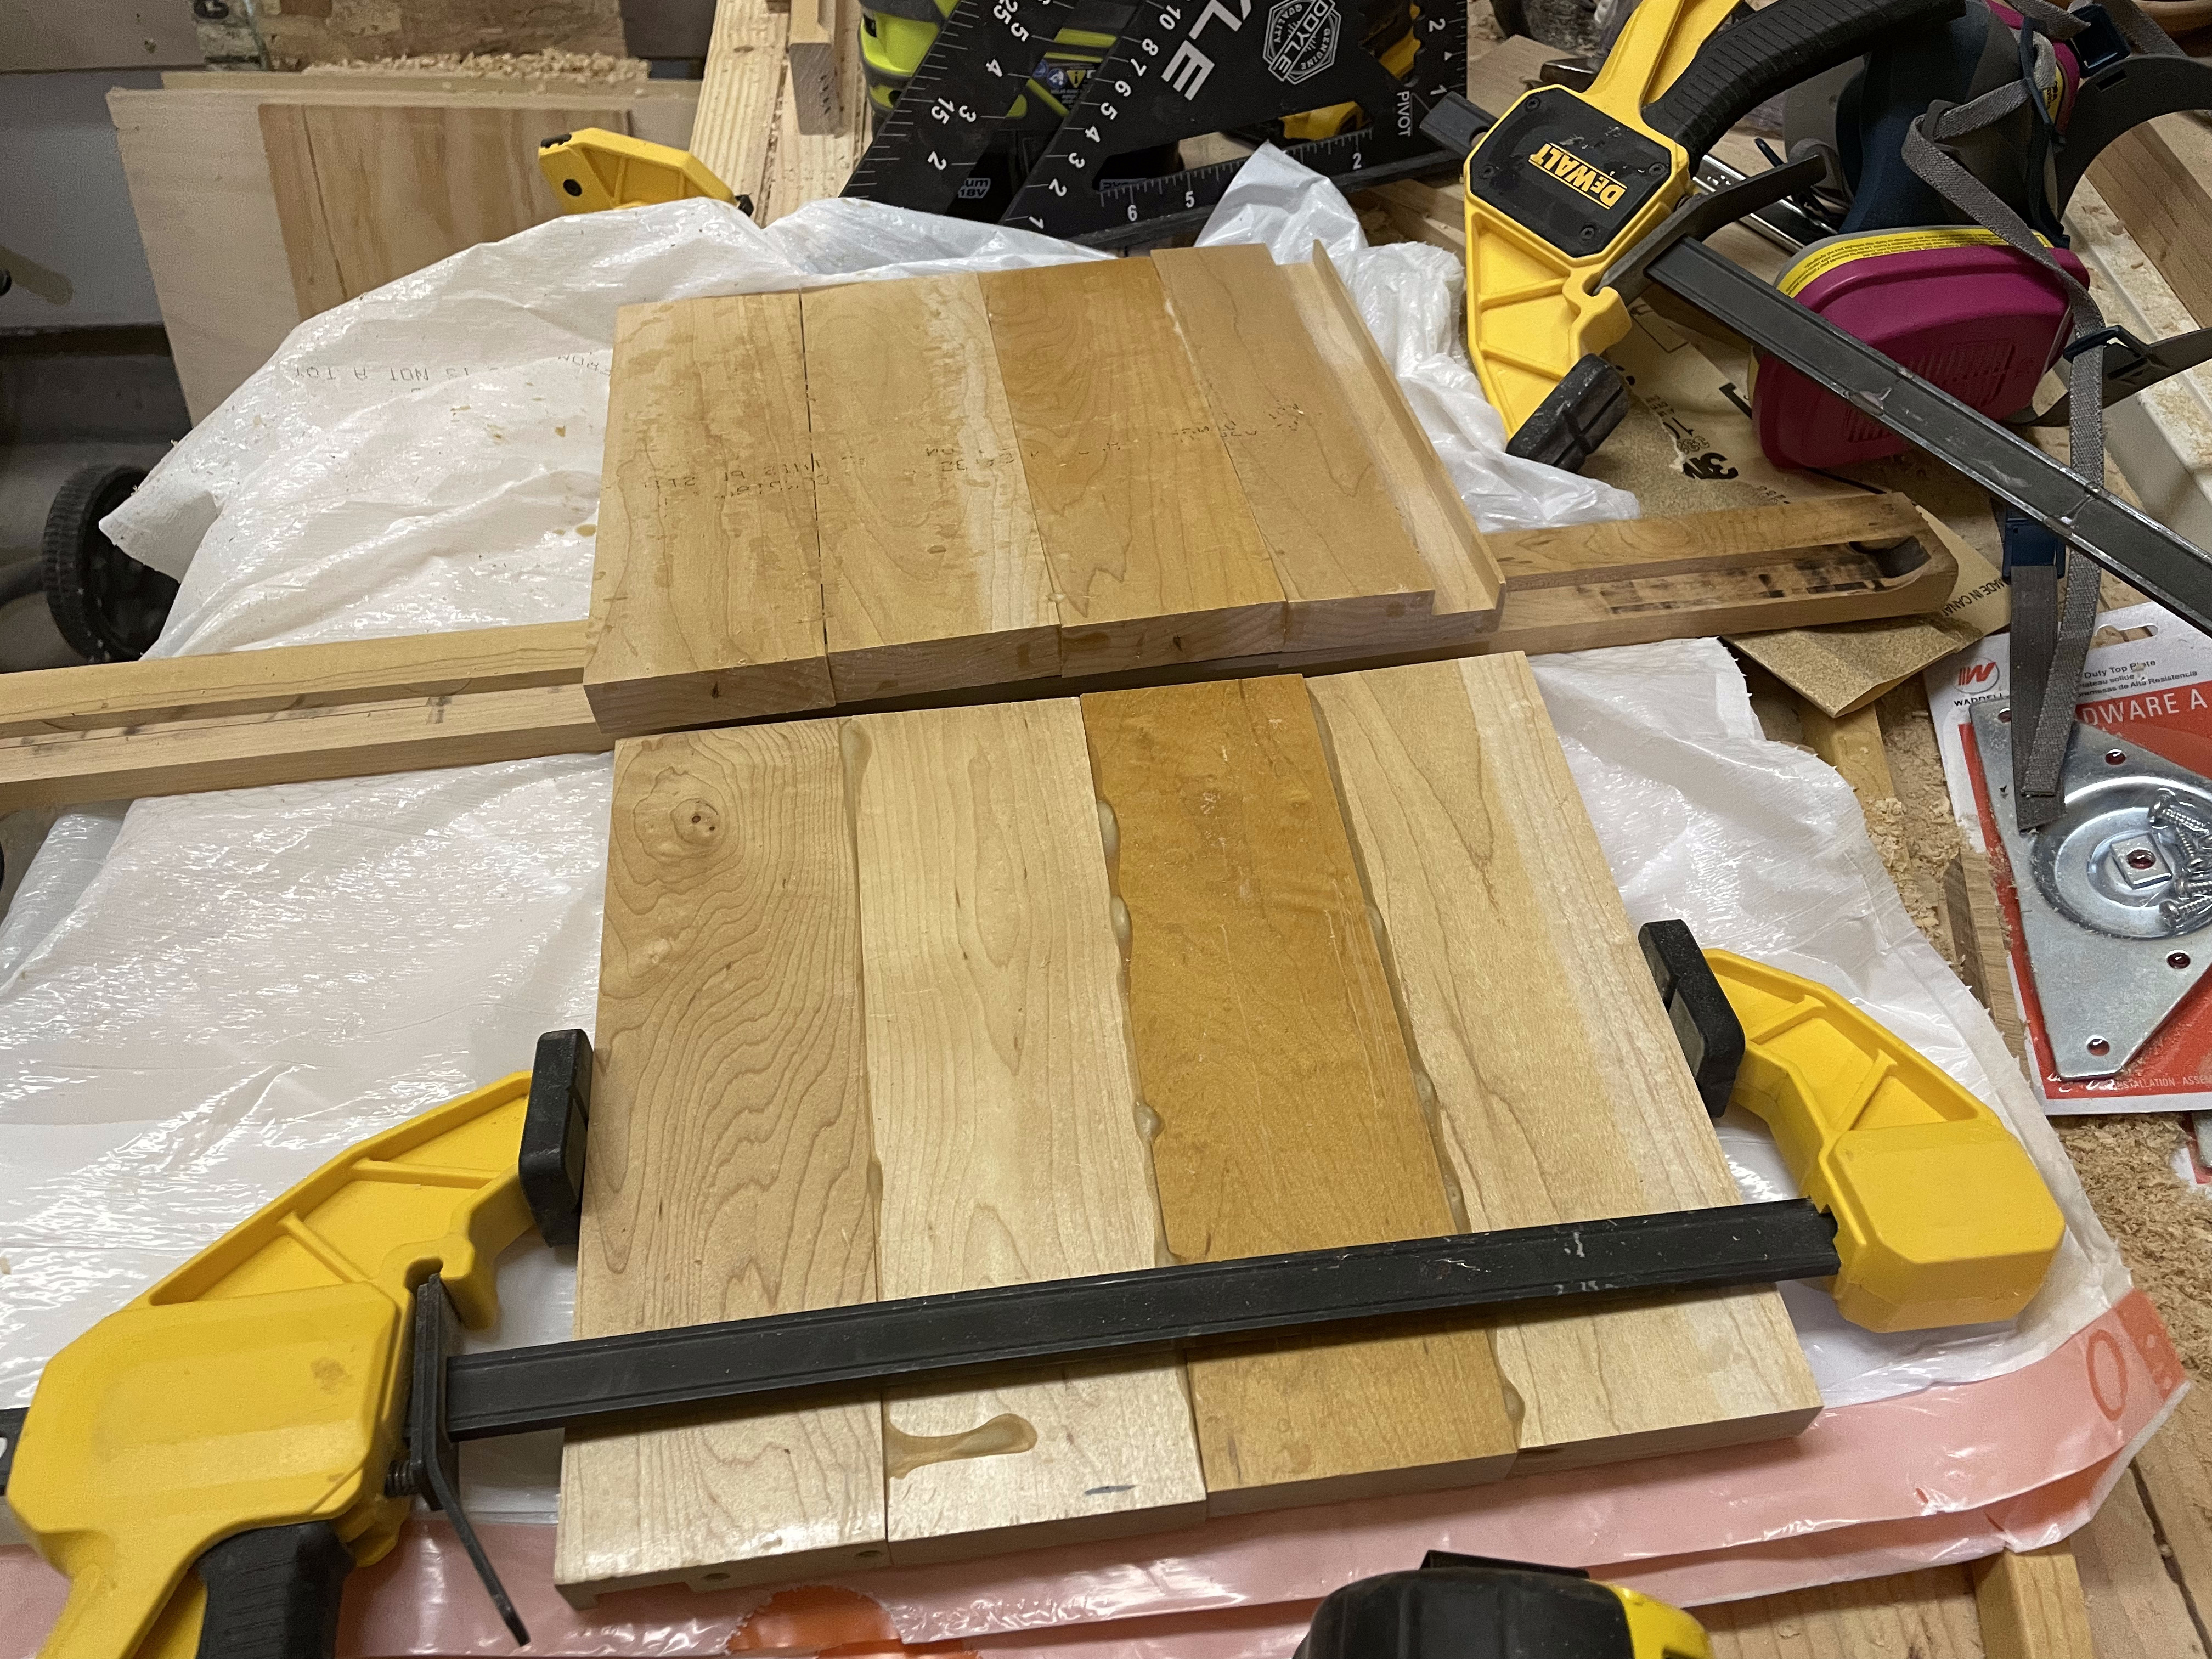
The planks were cut to matching lengths and glued into larger panels to form the top and bottom of each nightstand.
I wish I had had access to a belt sander or tabletop planer at this point to really even out the tops, as it required a lot of manual effort.
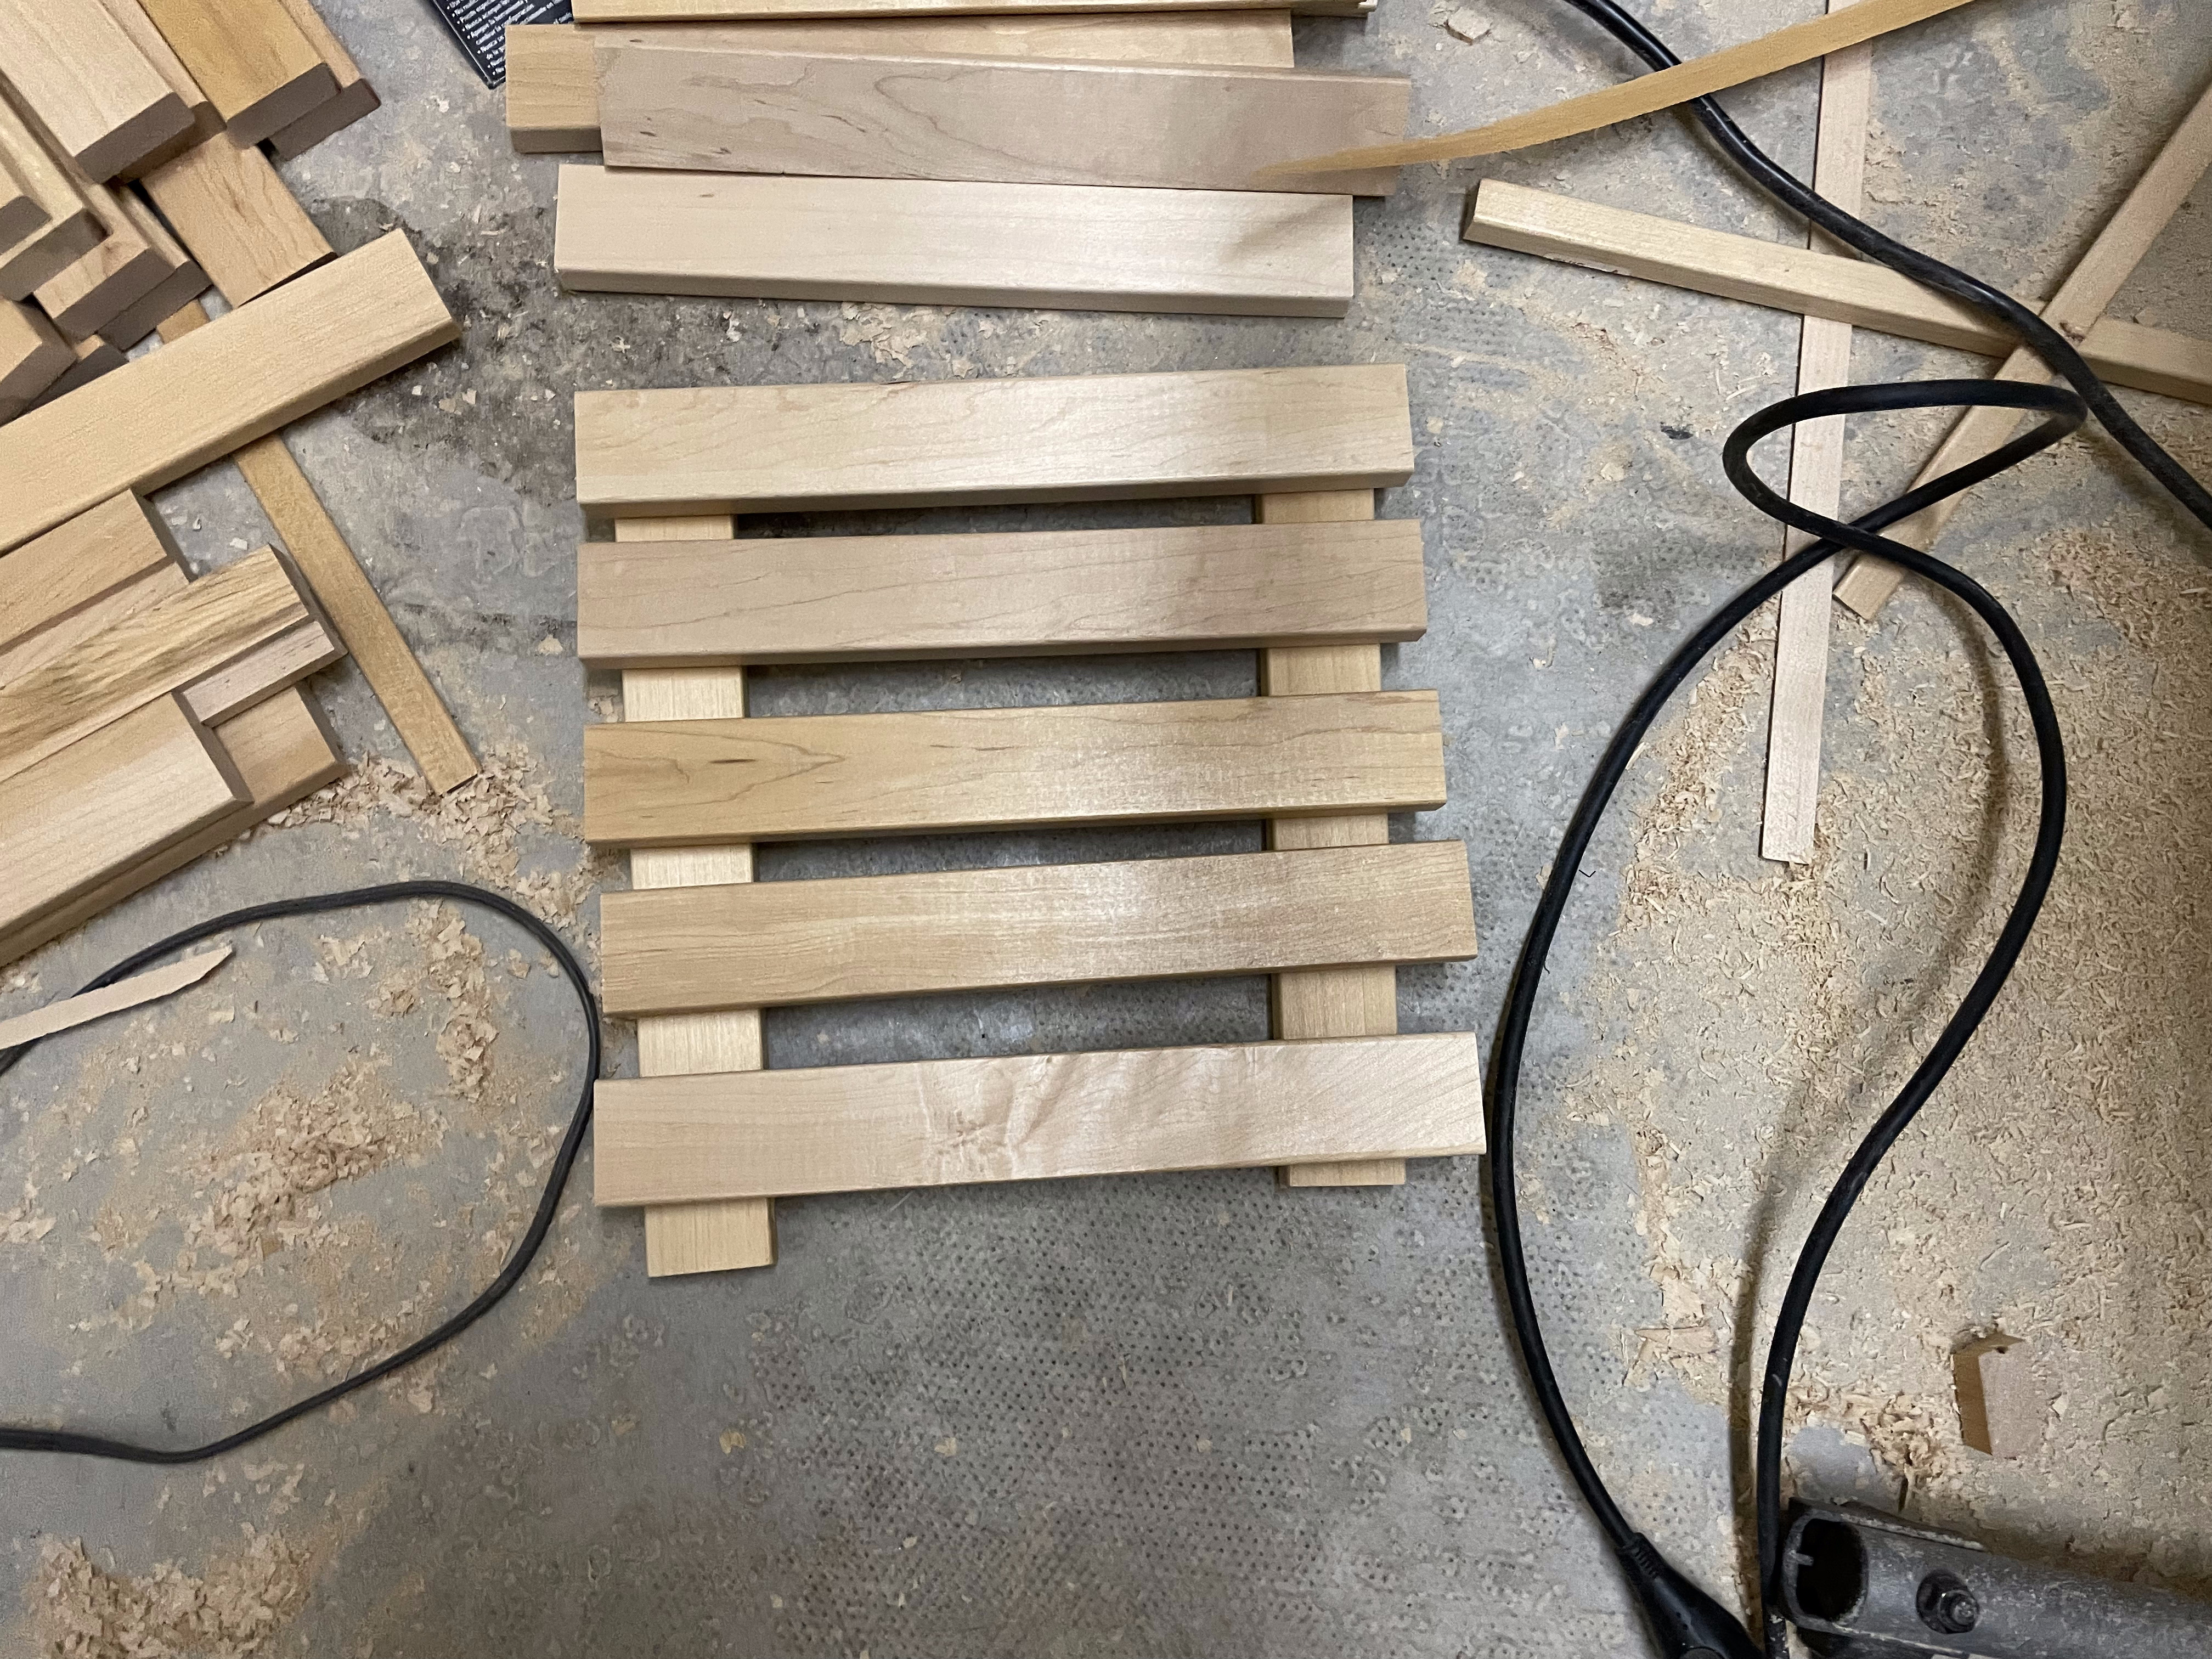
I played around with a couple of designs until I found an idea for what I thought would look good and make use of the slats without series re-working.
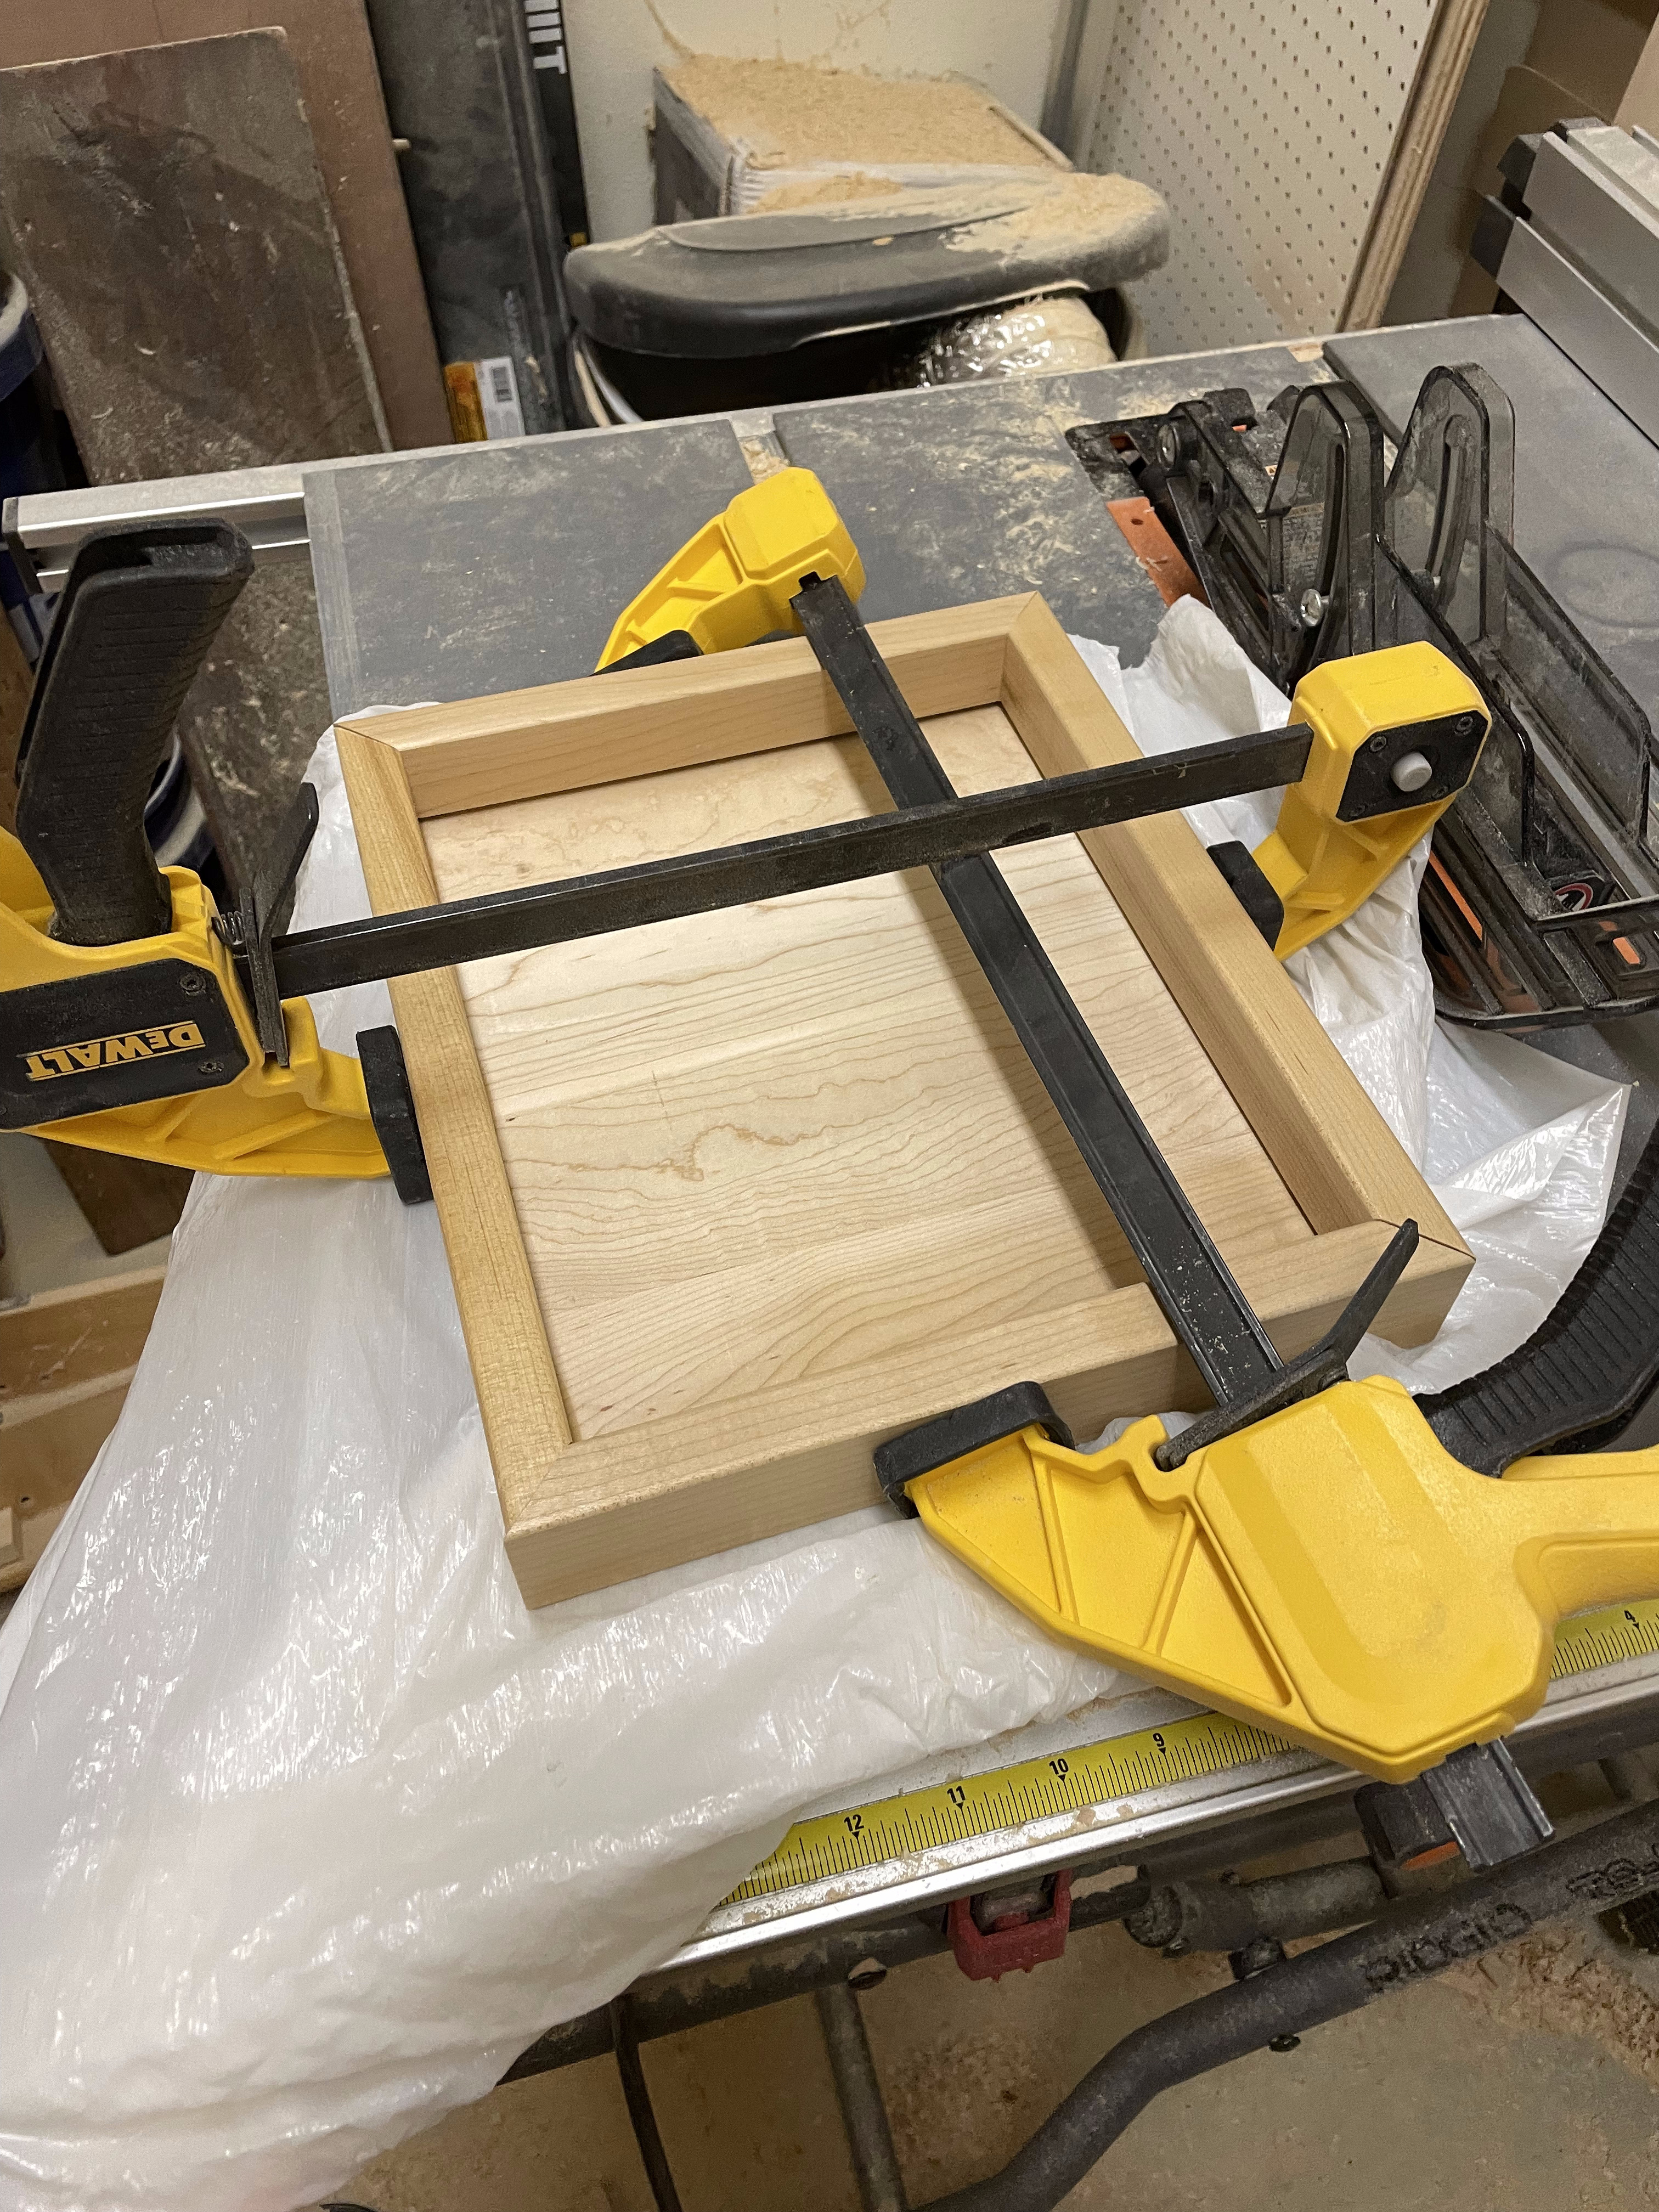
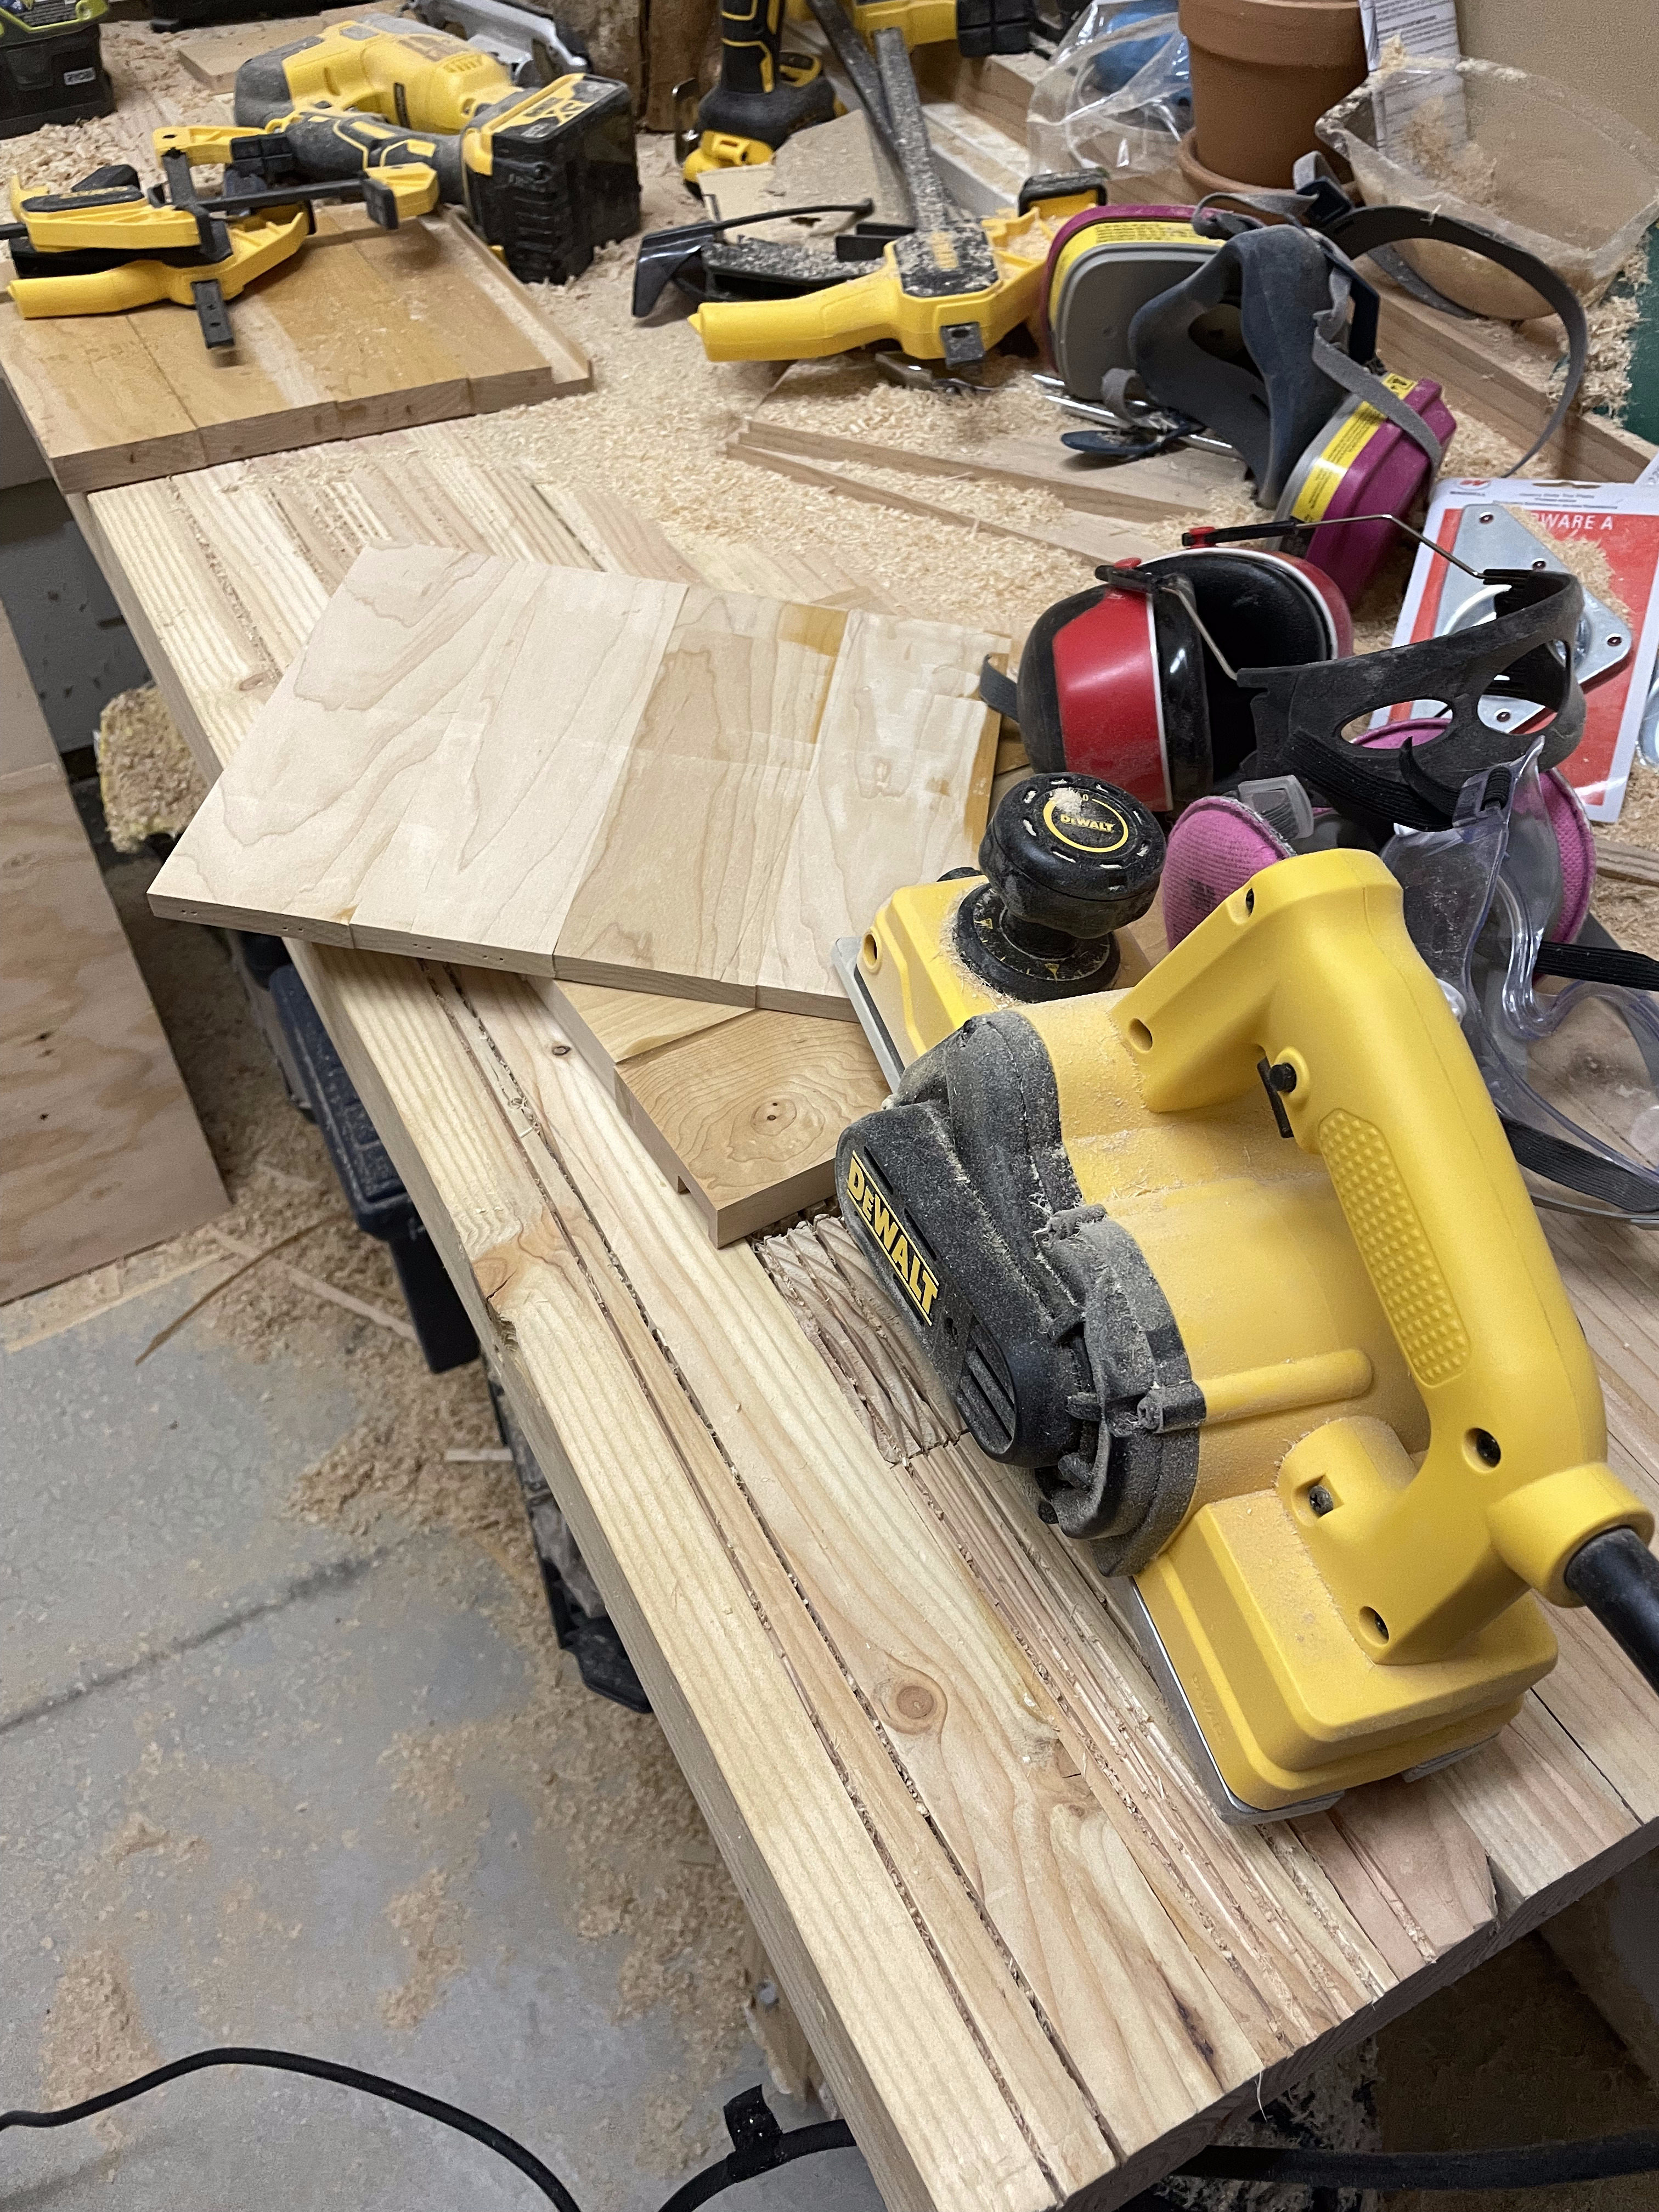
The tops / bottoms were glued into rabbets made on some of the slats edges to make them flush. I did this with a hand router followed up by sandpaper.
The corners were just cut to 45 degrees on a miter saw, and of course they were ever-so-slightly off.
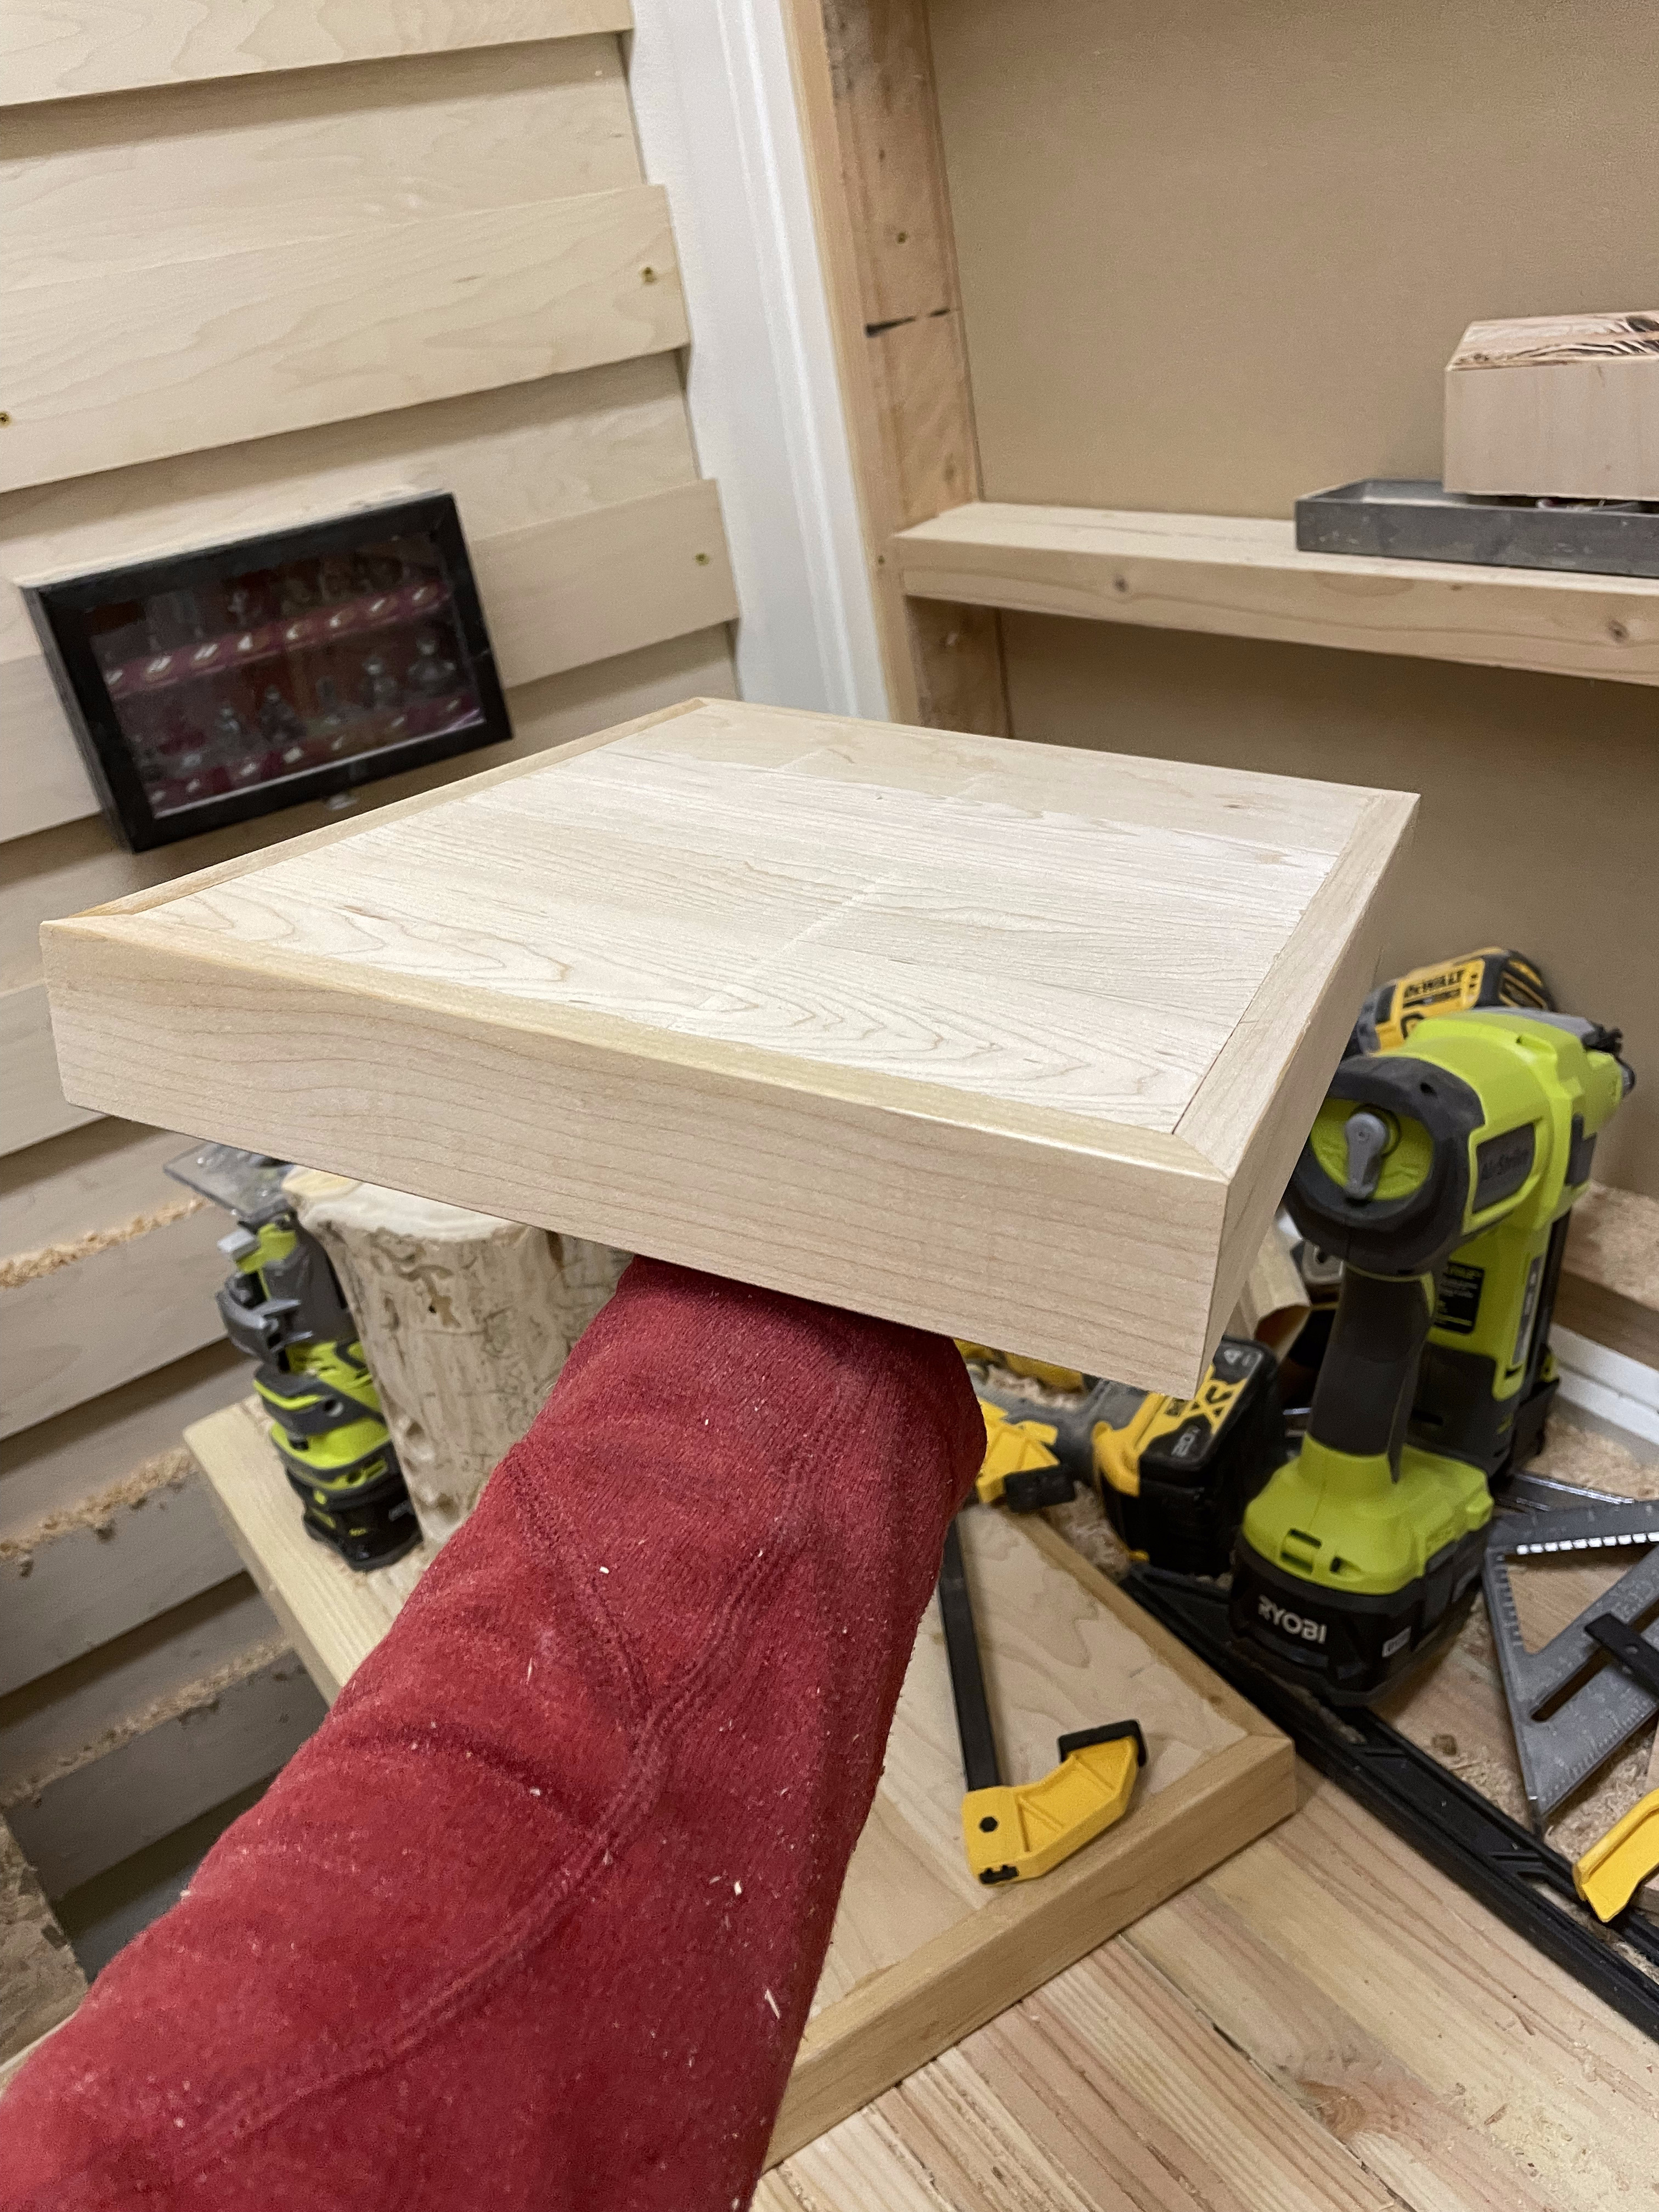
A little work with the planer and random orbit sander got the tops looking pretty nice and ready for assembly.
I experimented with using brads to align the columns while gluing them onto the ends, but they actually ended up misaligning the columns. I opted not to use brads on the other end of each nightstand.
Phase 2: Assembly
The second phase didn’t wrap up until almost a year and a half later, as I struggled to find time to work with wood on top of everything else I had going on. As I was taking time off from working, I was finally able to get back to these.
I had to finish cutting 45 degree ends into each slat, and sanding them down to get them ready to take a finish. I started the process with a Japanese pull saw, and nearly went insane. Waiting until much later when I had access to the radial arm saw was orders of magnitude better.
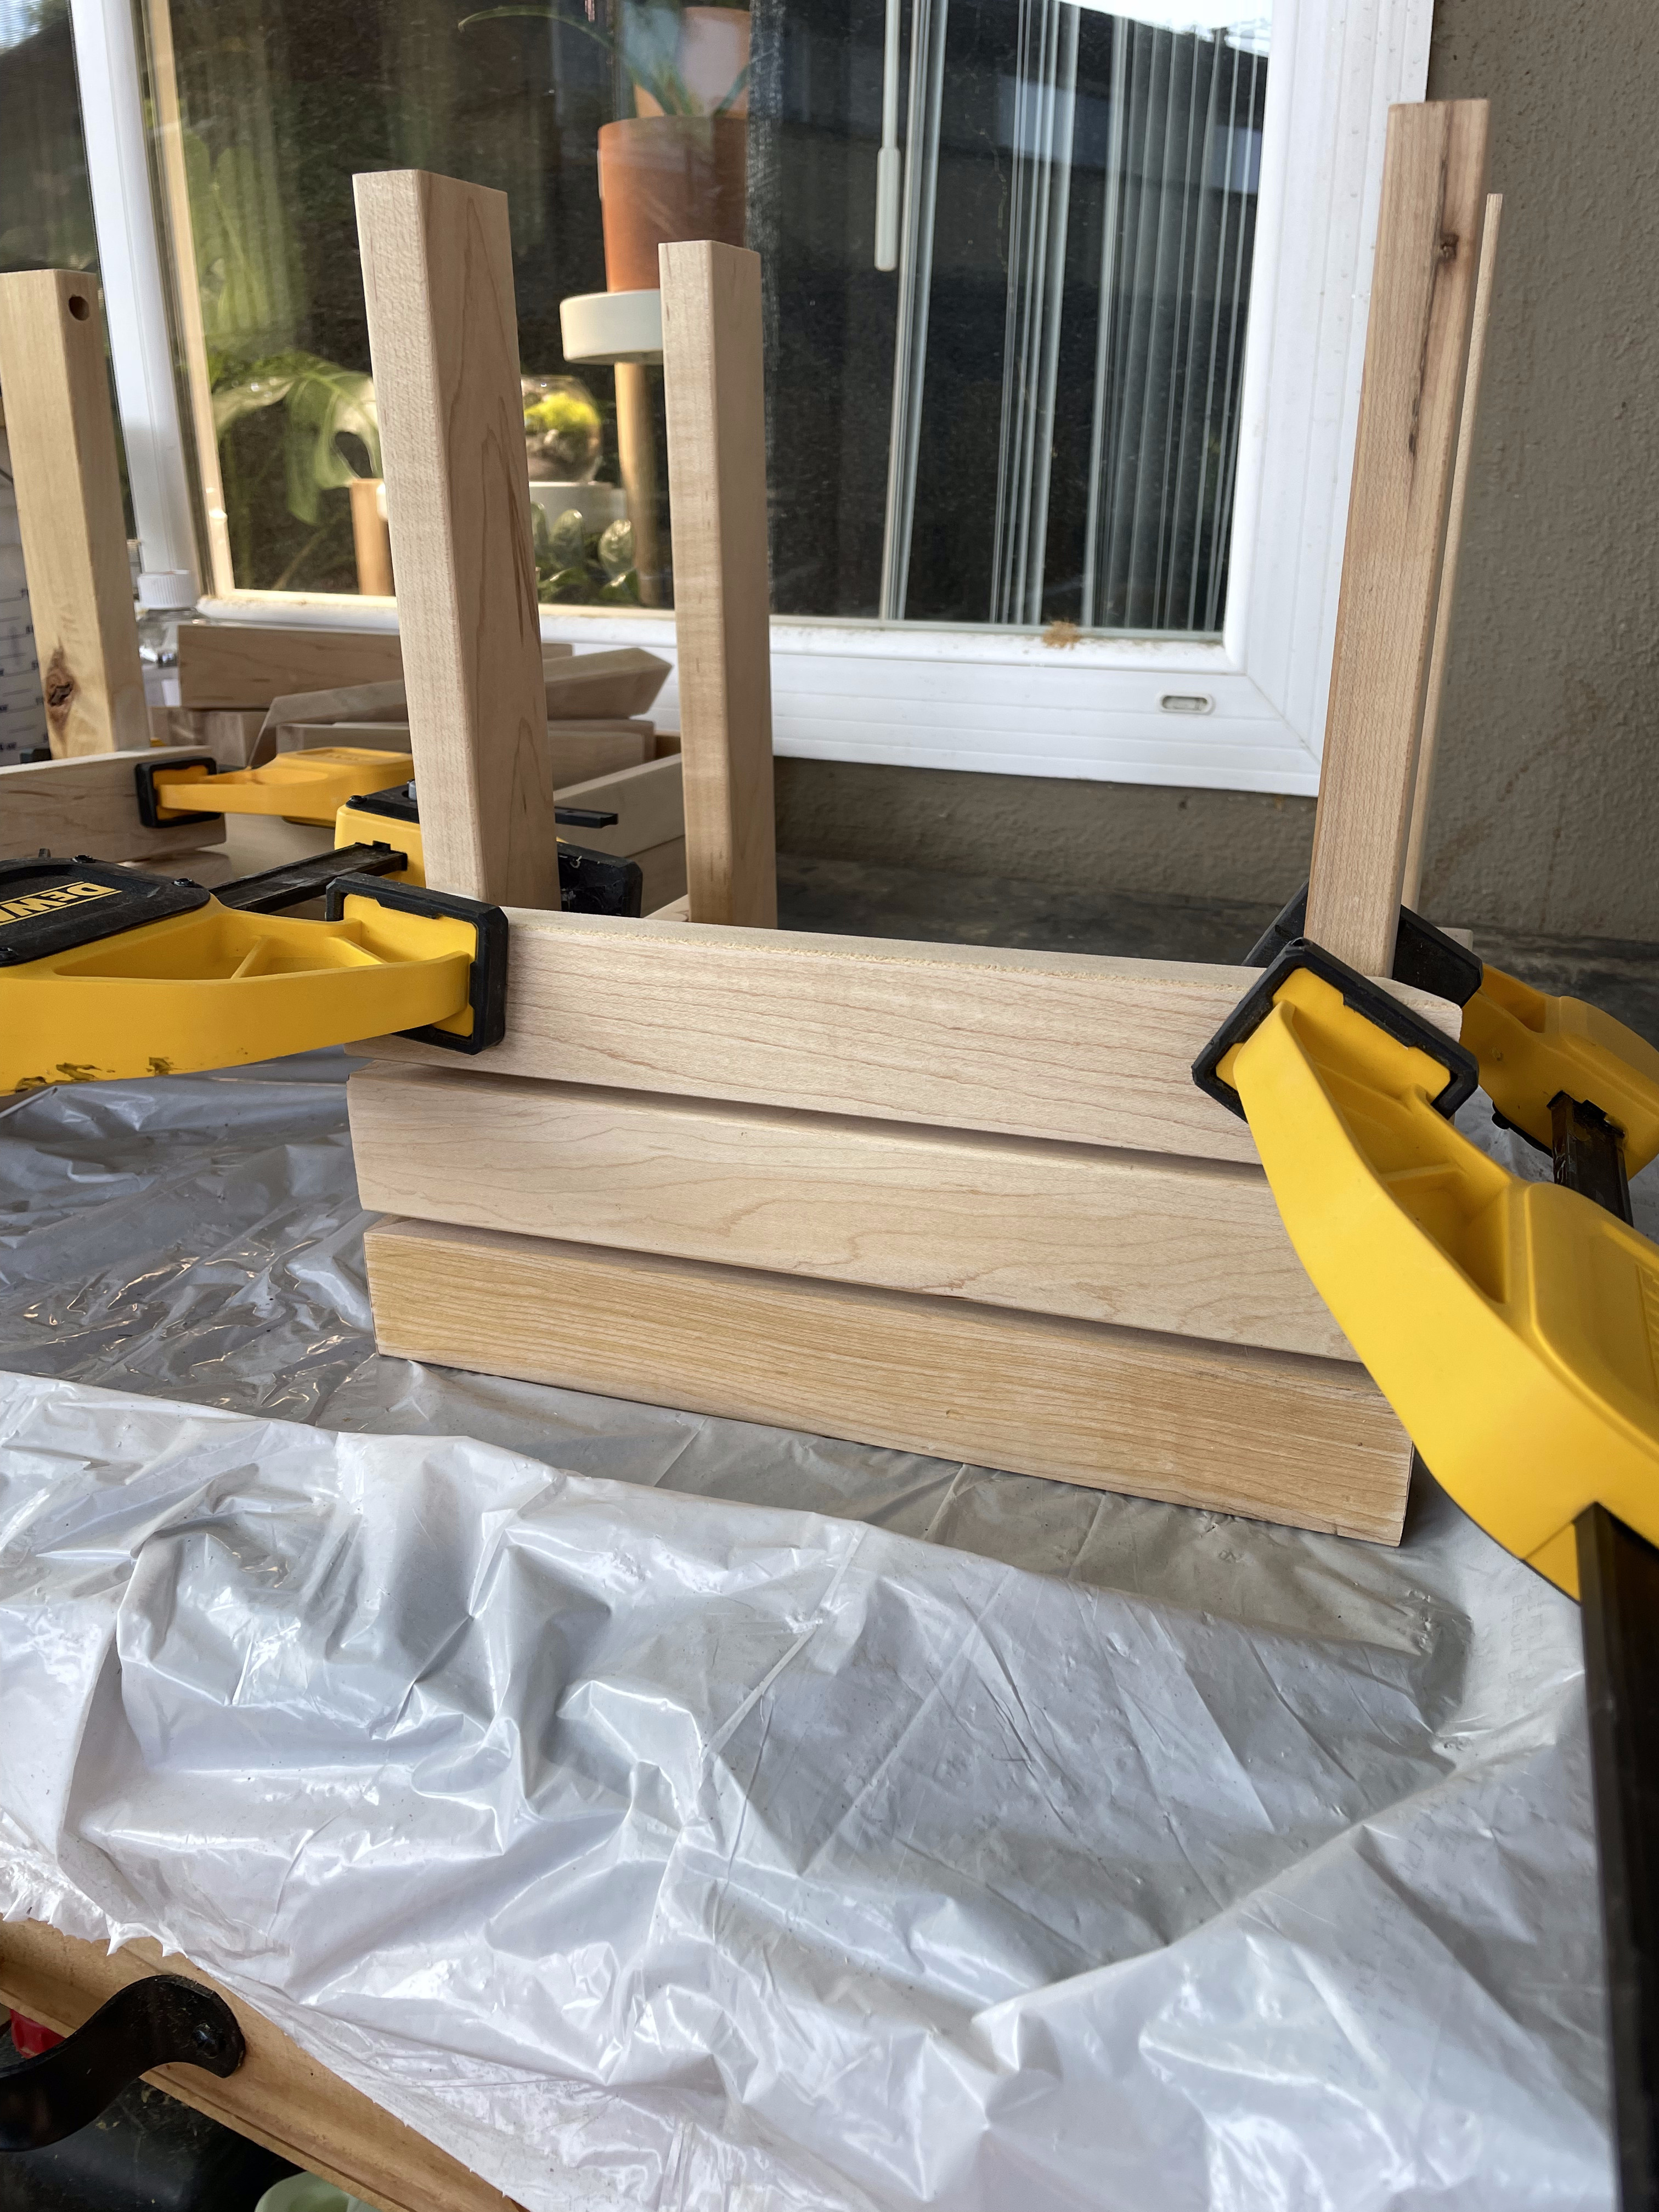
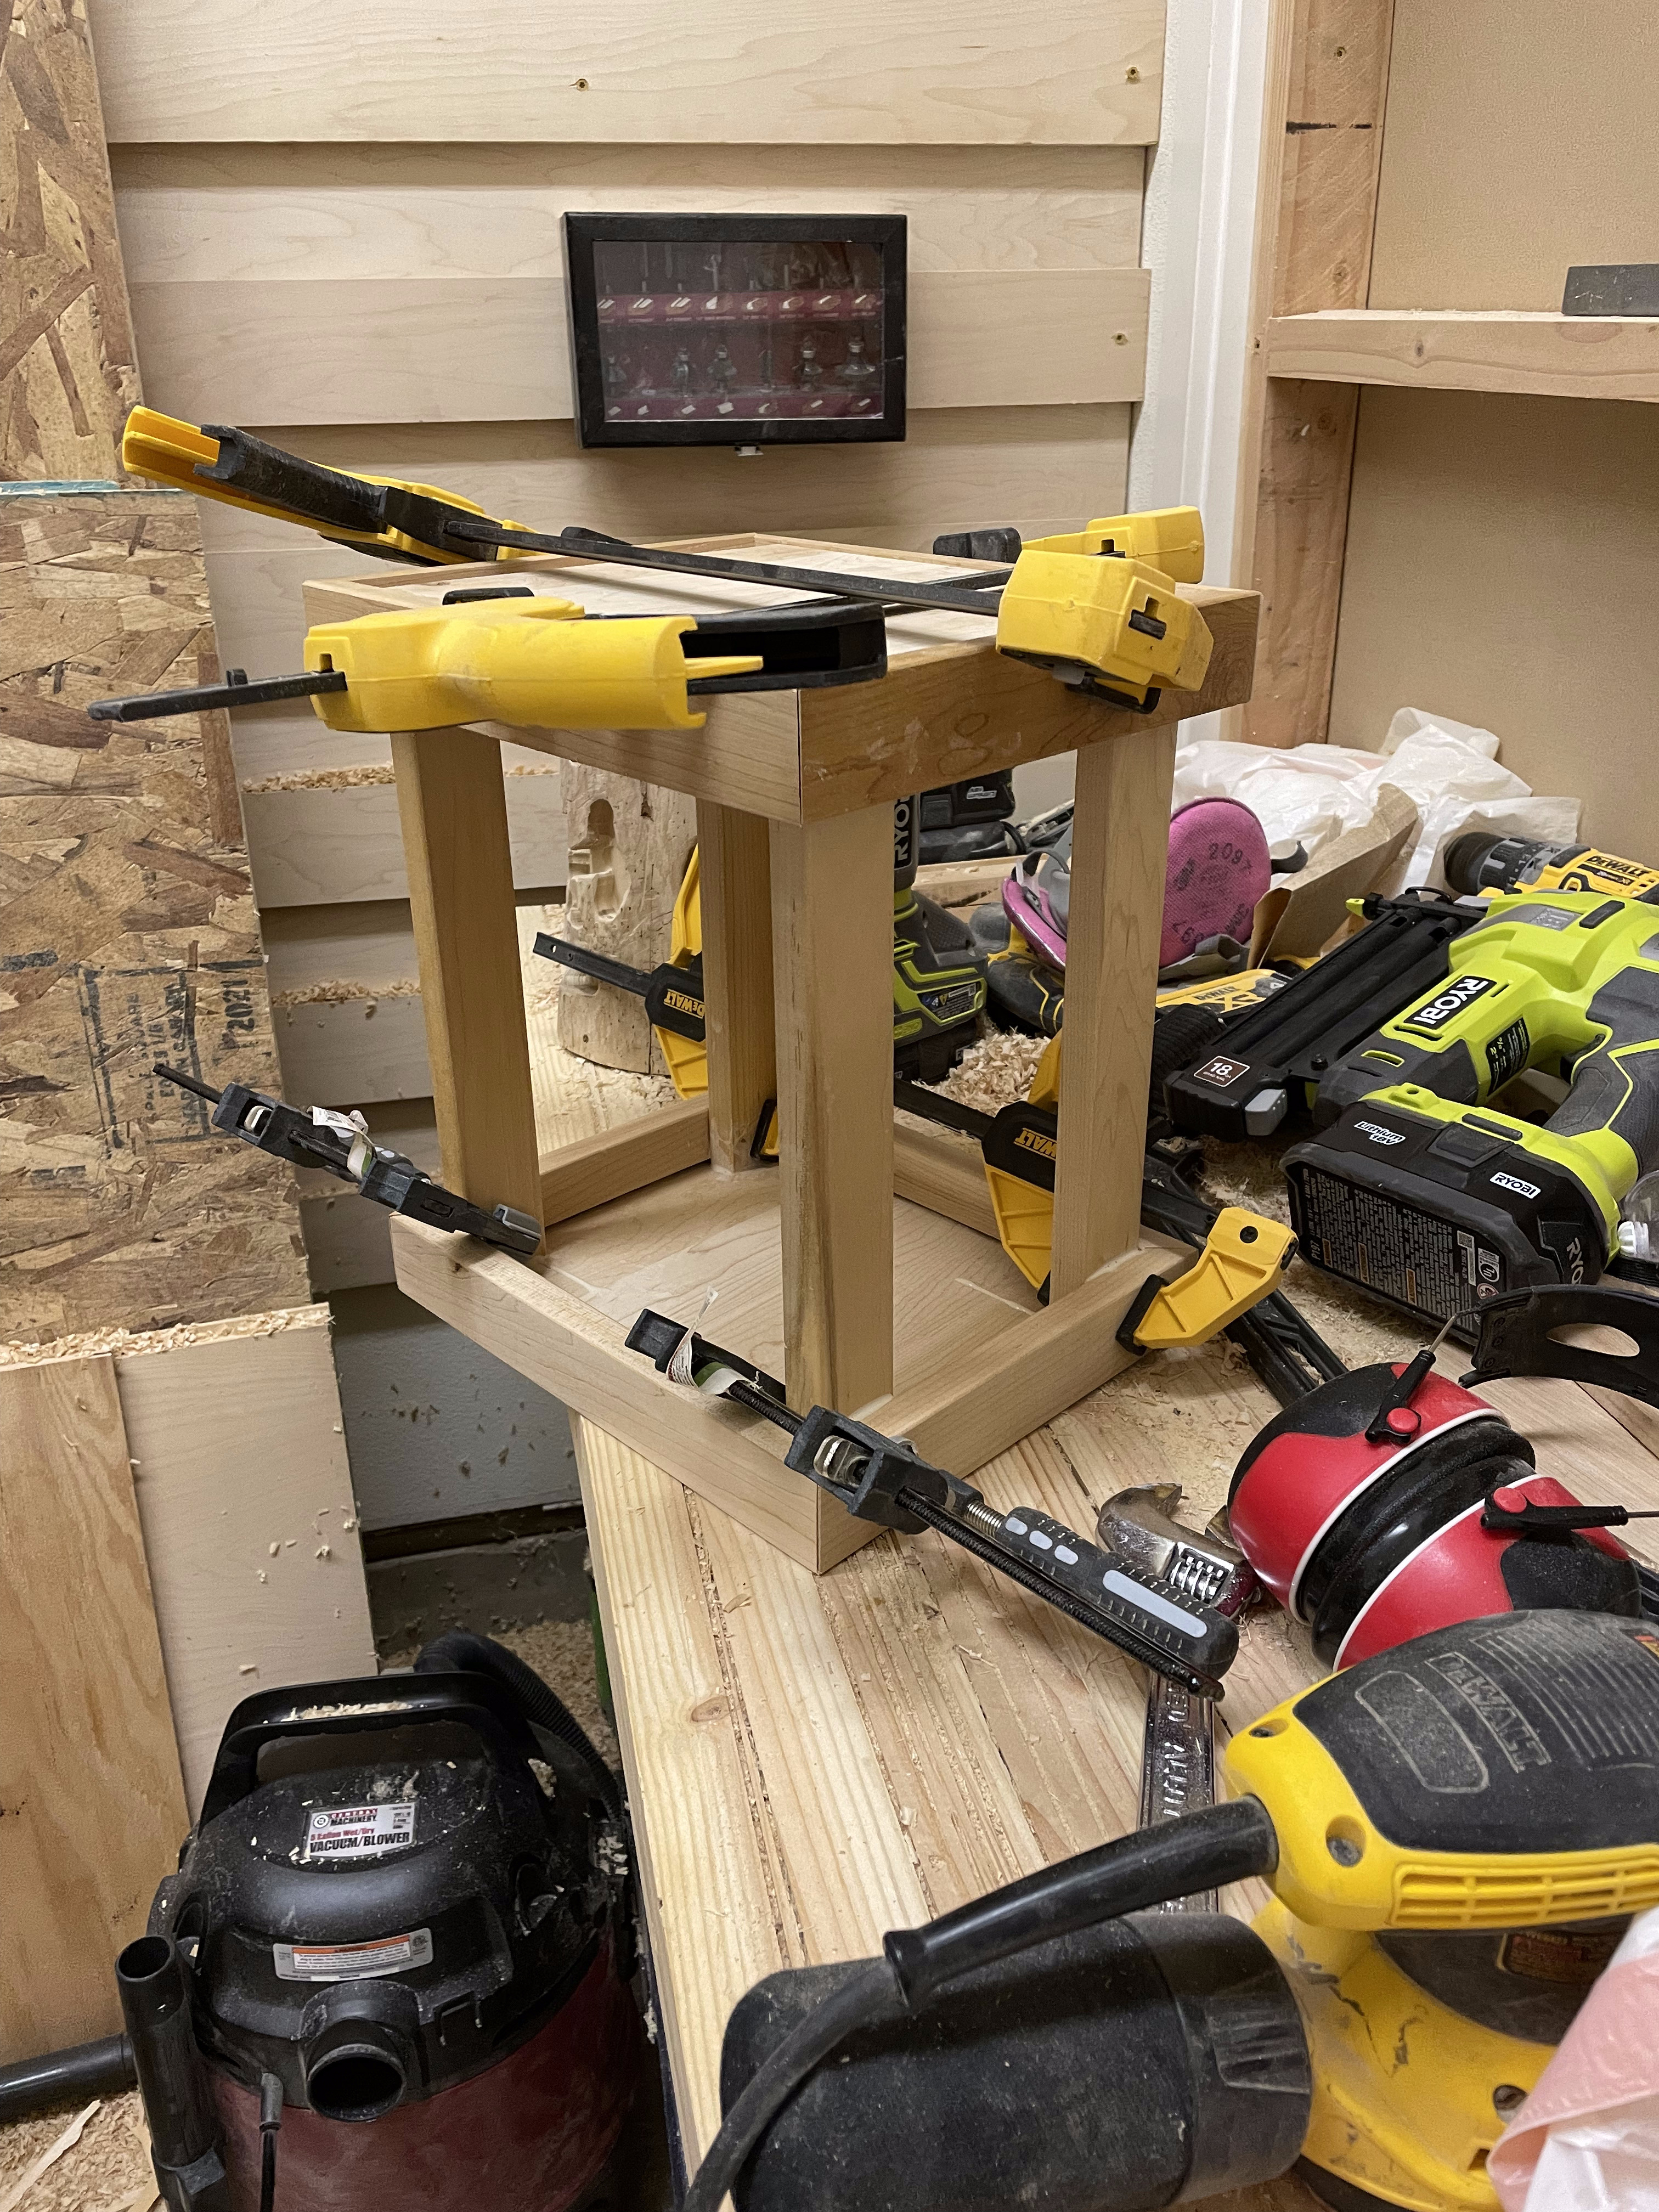
I spaced each slat by clamping it to the columns while sitting on my speed square. This ended up being way more consistent than I expected.
Gluing all of the slats took about a week because I did not have enough clamps.
I should have been much more careful about the amount of glue I was using because I ended up wasting hours cleaning up the dried on glue out of the small inside space of the nightstands and the smaller grooves between slats.
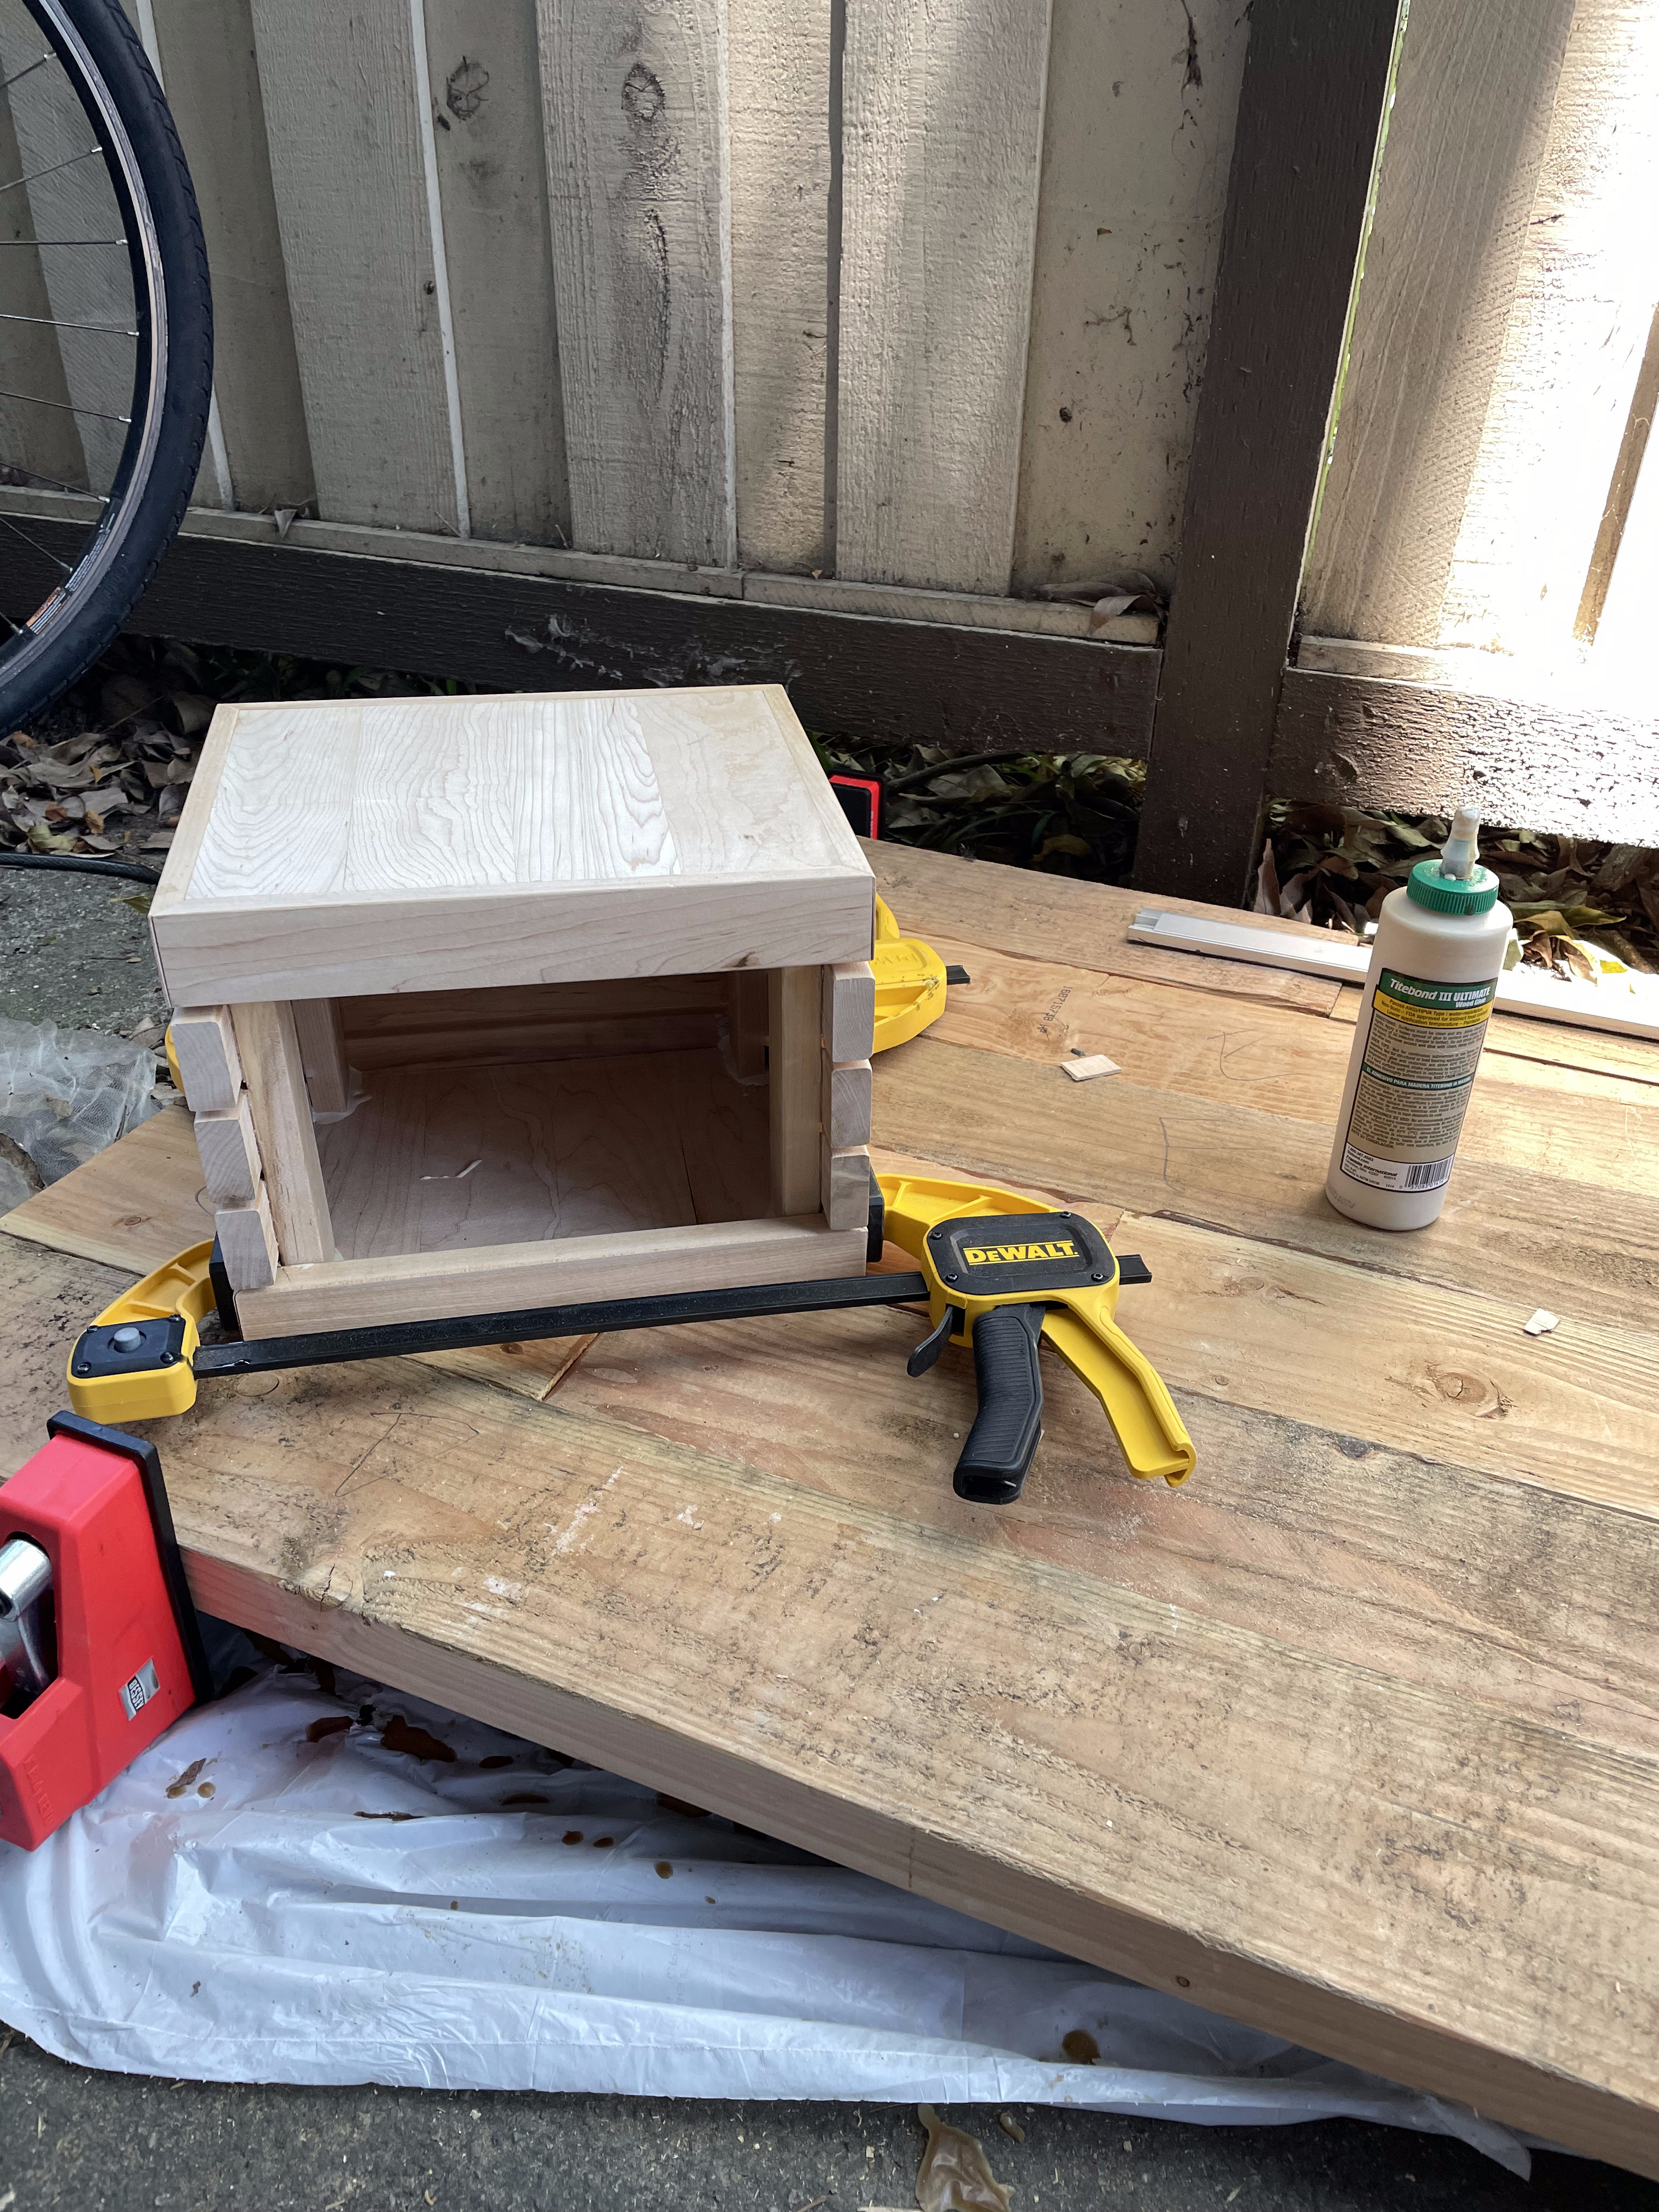
Getting the ends glued on was actually a challenge because the columns were too far apart to fit within the slats already attached to the end. I slightly split one of the end pieces trying to force it on, so I had to back up and sand down the columns to fit.
In trying to even out the tops and bottoms, I accidentally chipped off some edges/corners. I used woodfill to repair it as best possible, which evened out well but is very obvious in the final surface.
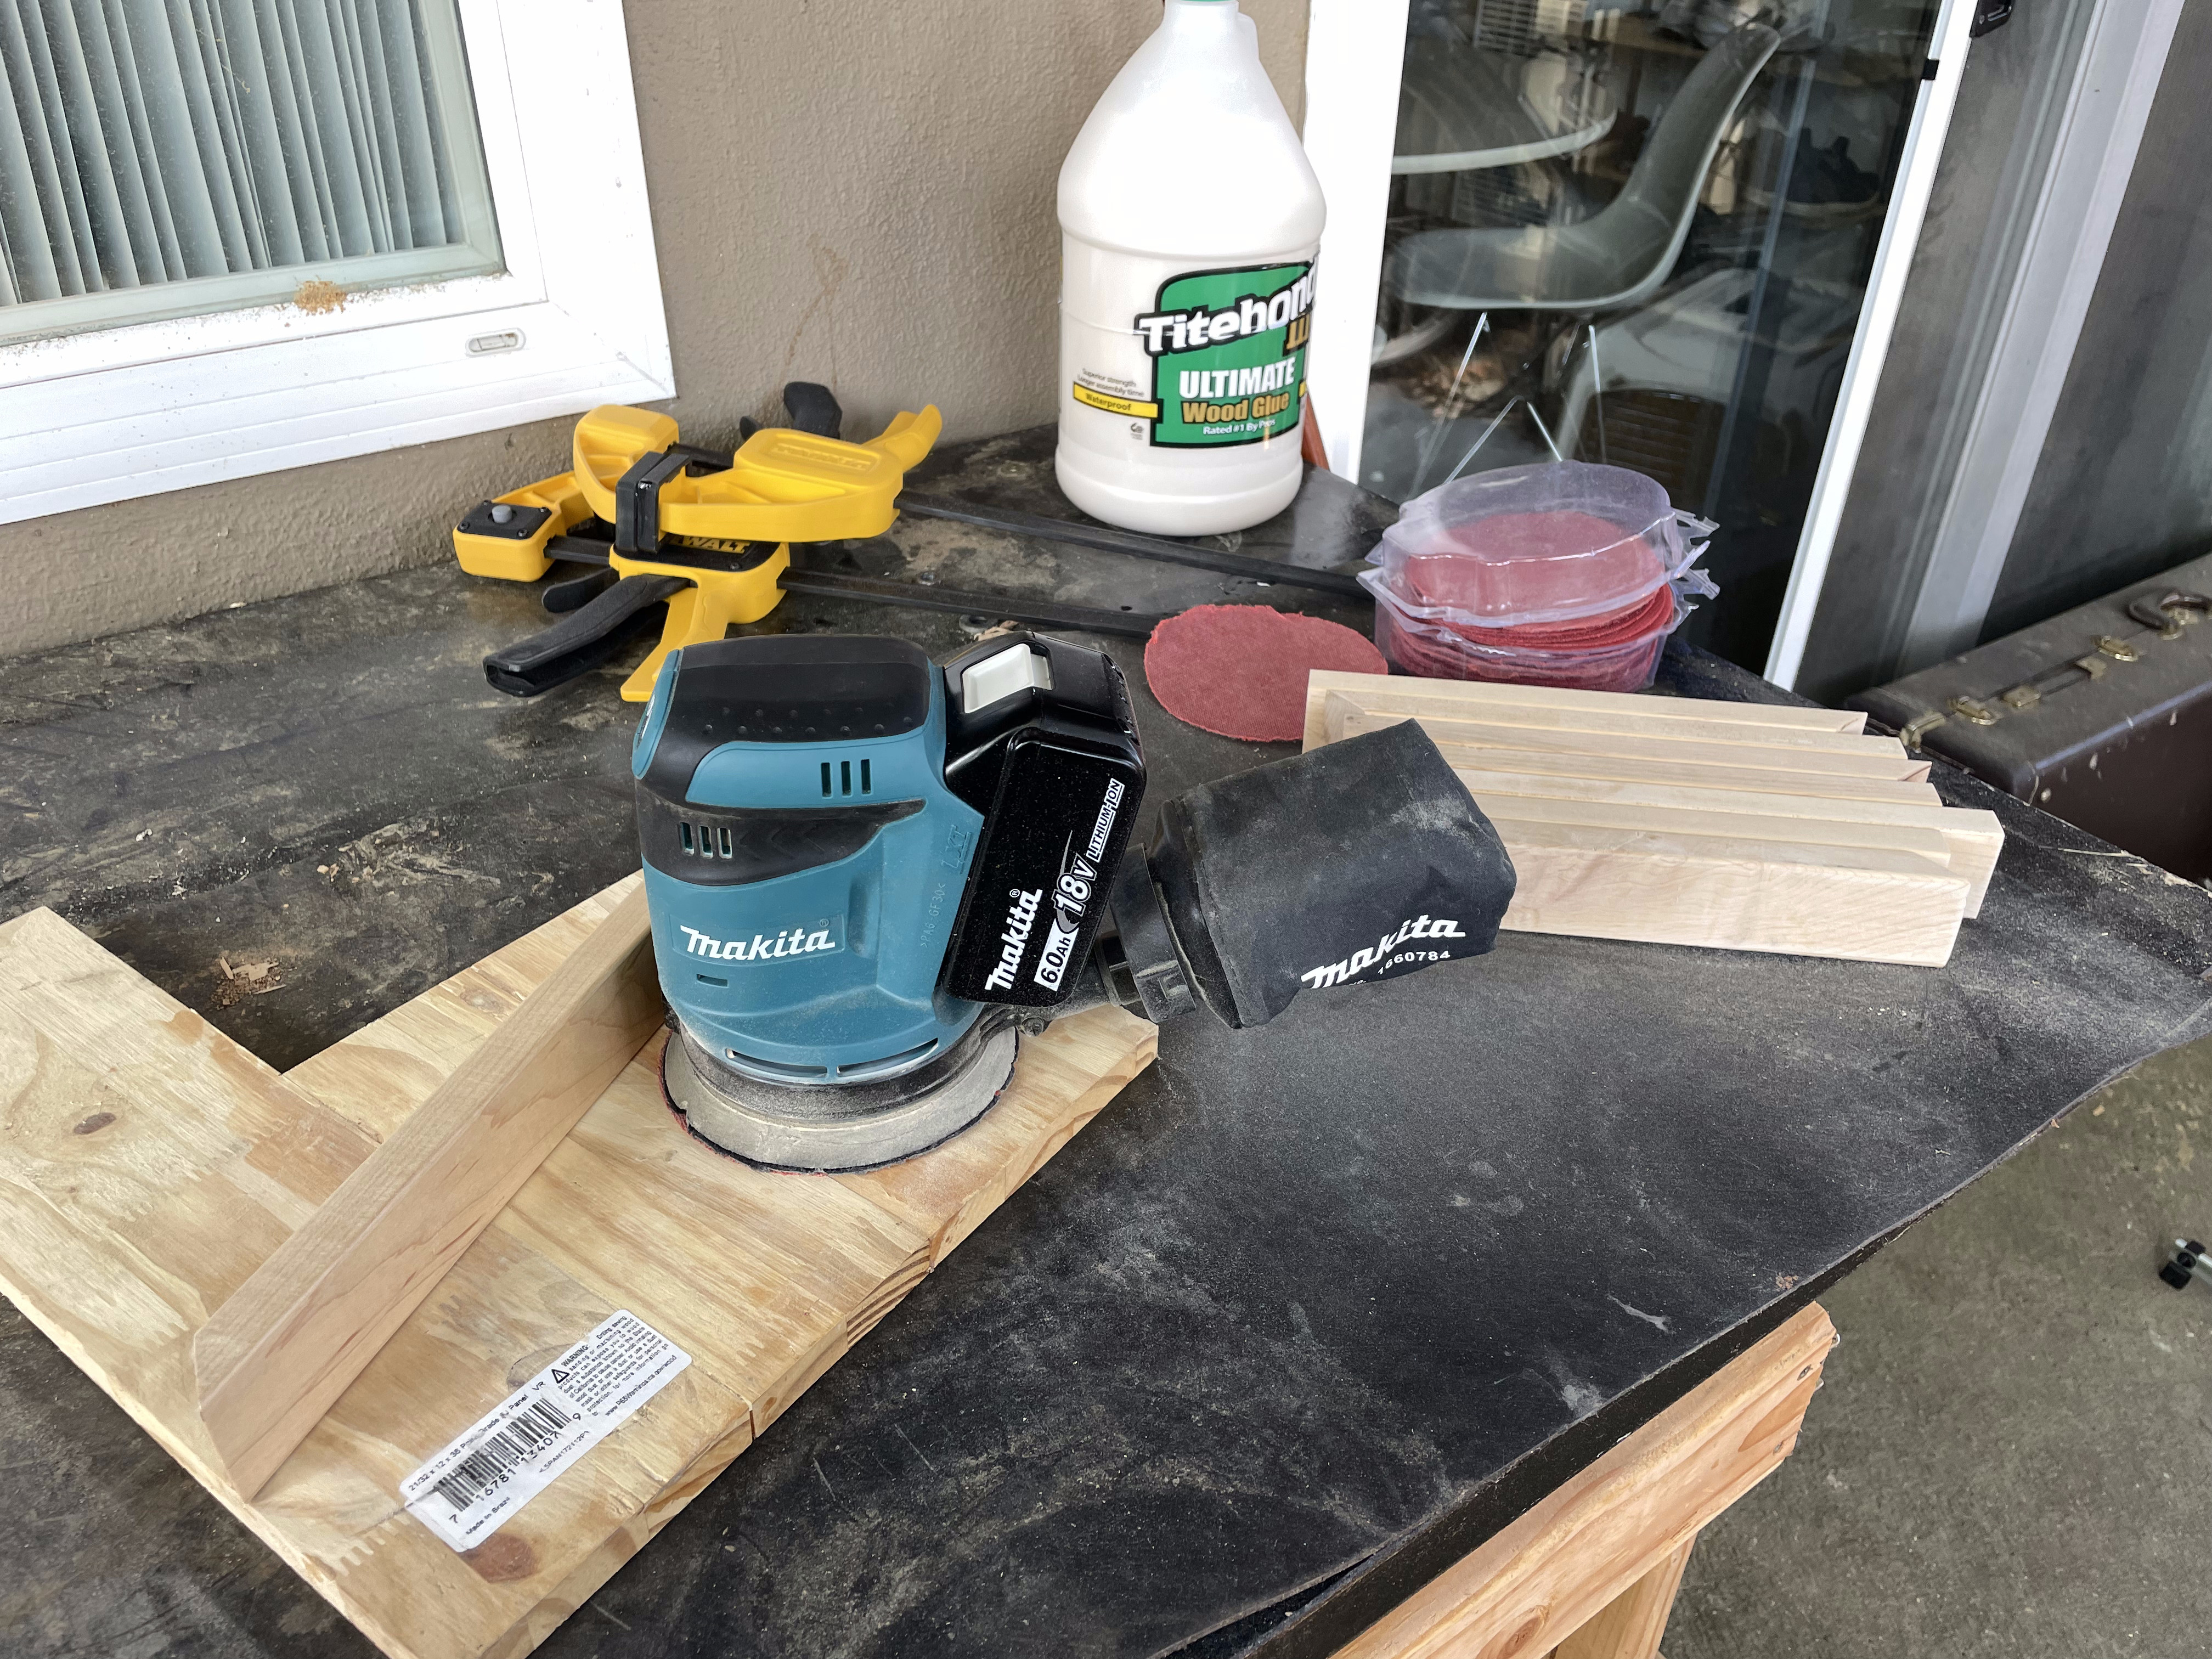
After this point, I spent a ton of time sanding each nightstand body with each grit from 80, 120, 180, 220 through 400. The end result was an insanely smooth surface.
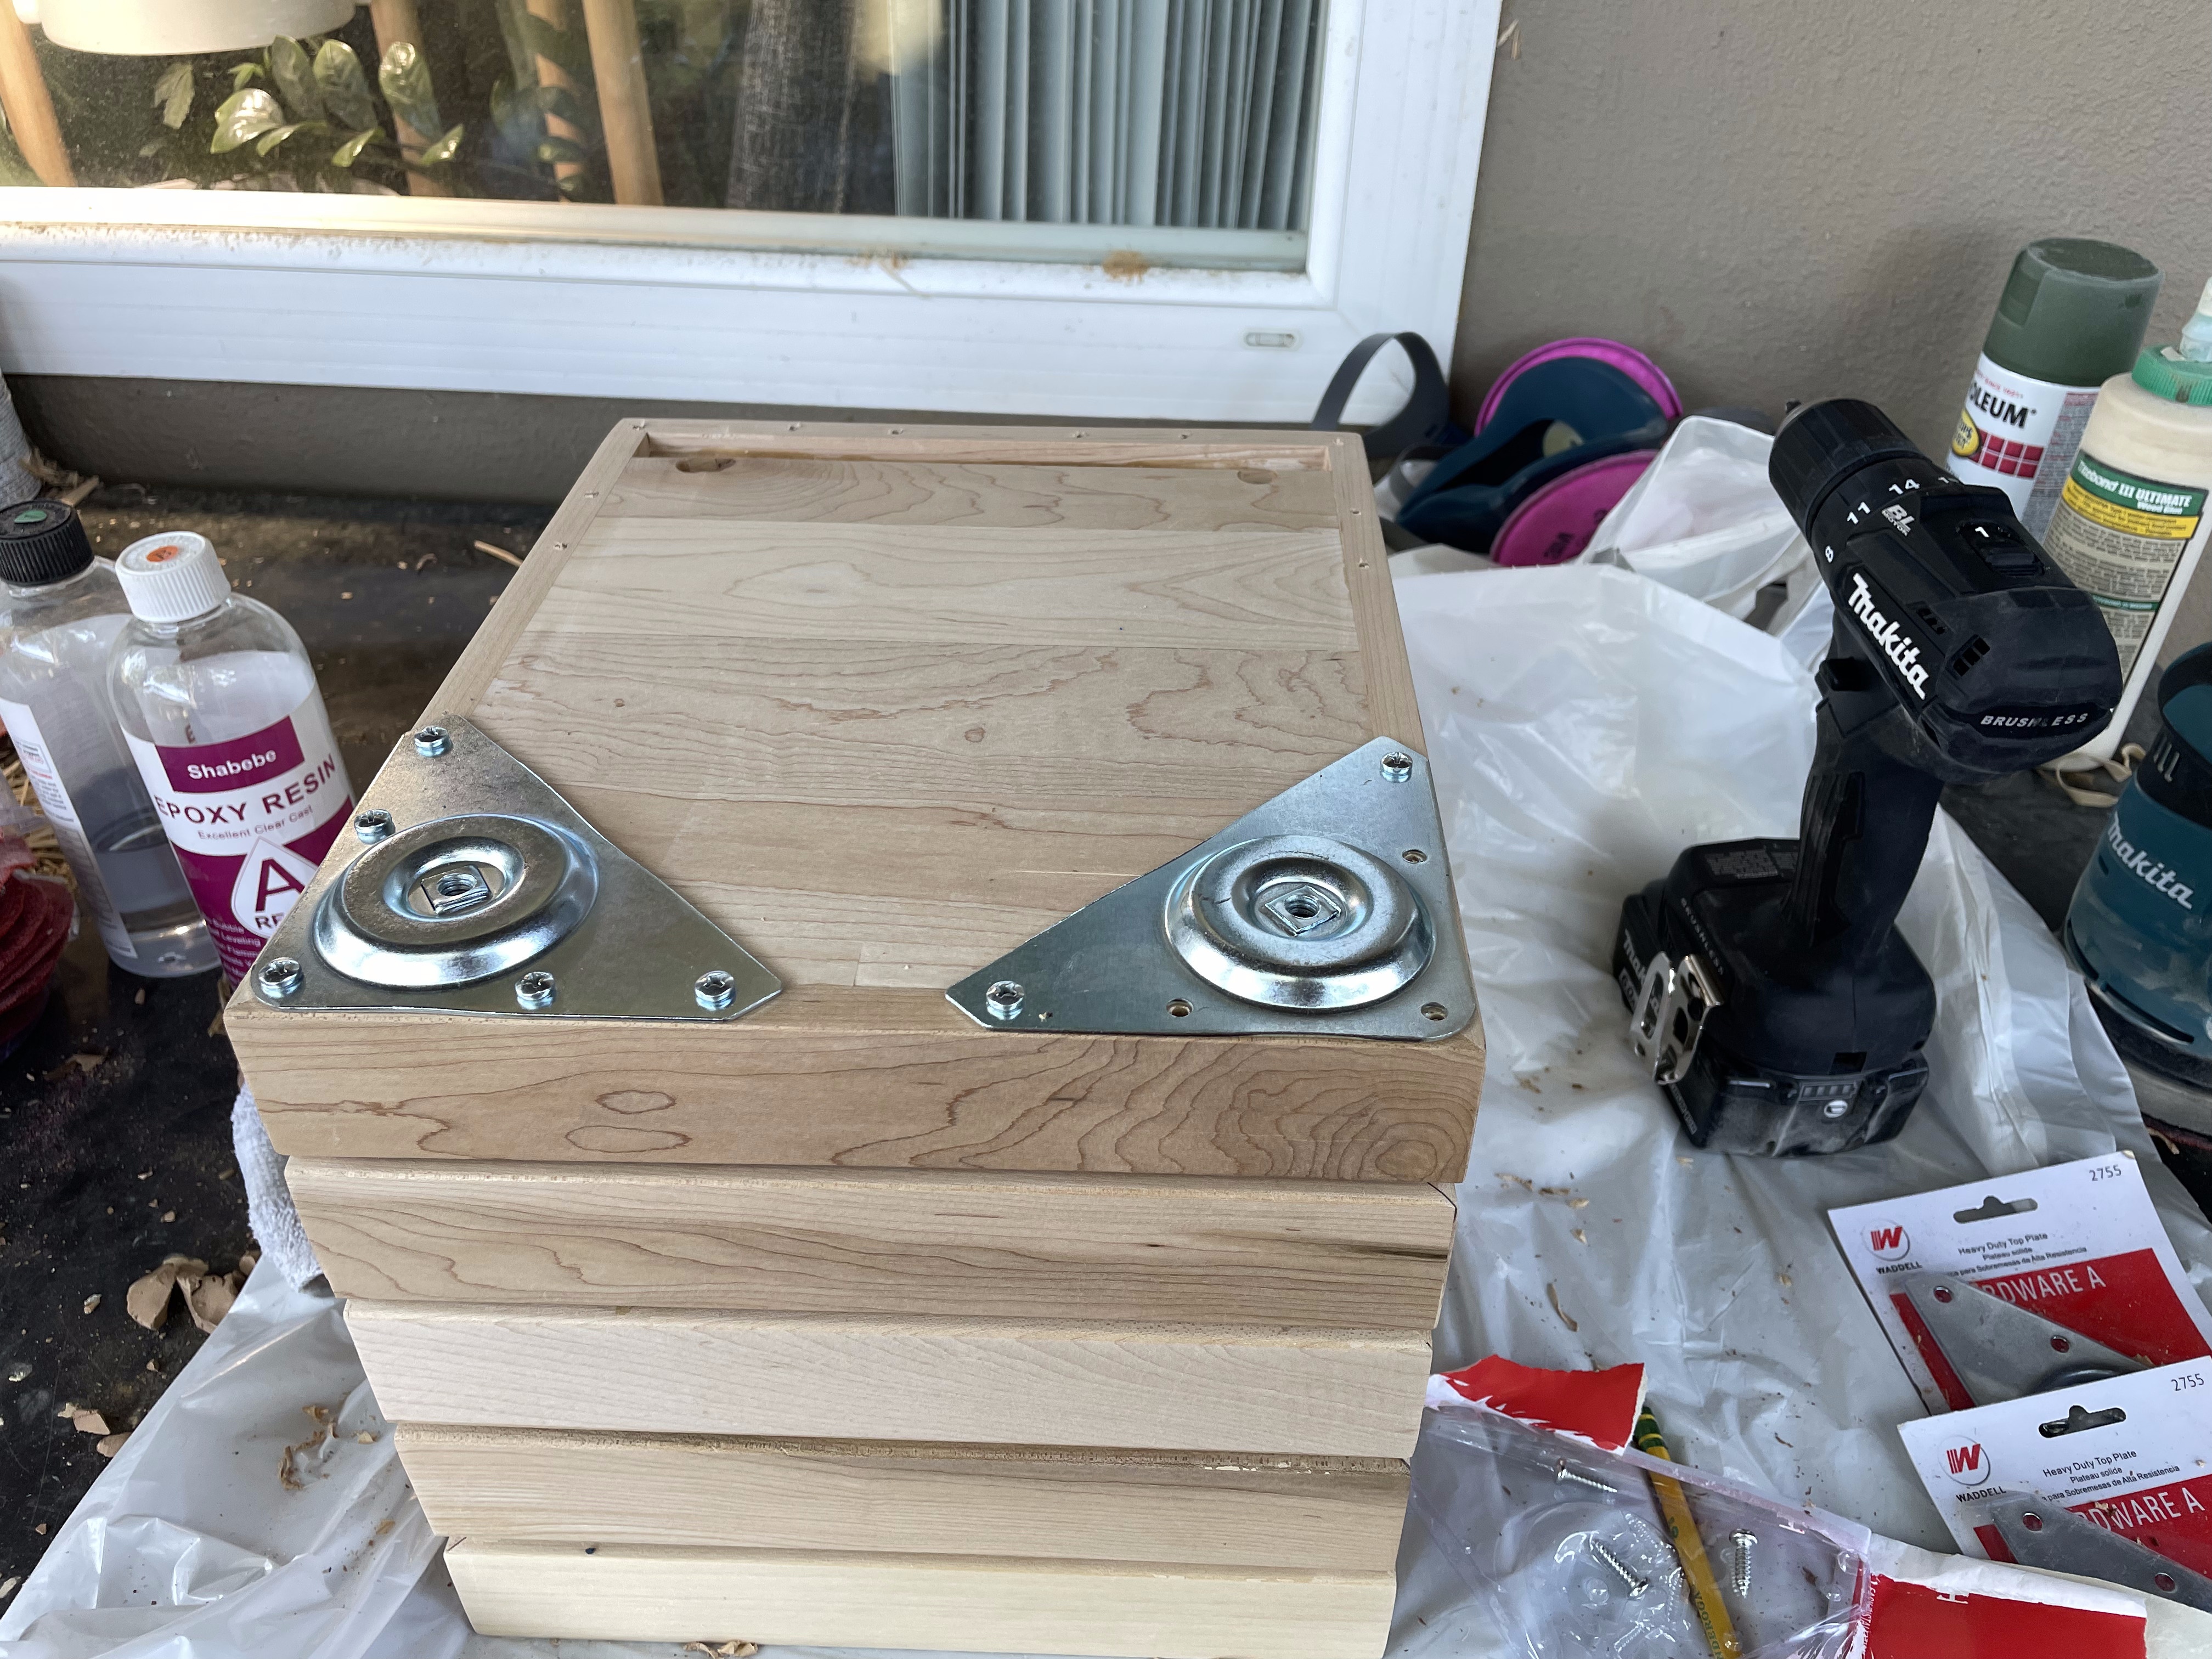
I chose to use premade legs during the initial design, and I had been holding onto the parts since then. By this point, I was very happy with my decision as these were incredibly quick and easy to attach and looked great.
I couldn’t quite get the legs to all be at the exact same angles, but it looks good enough.
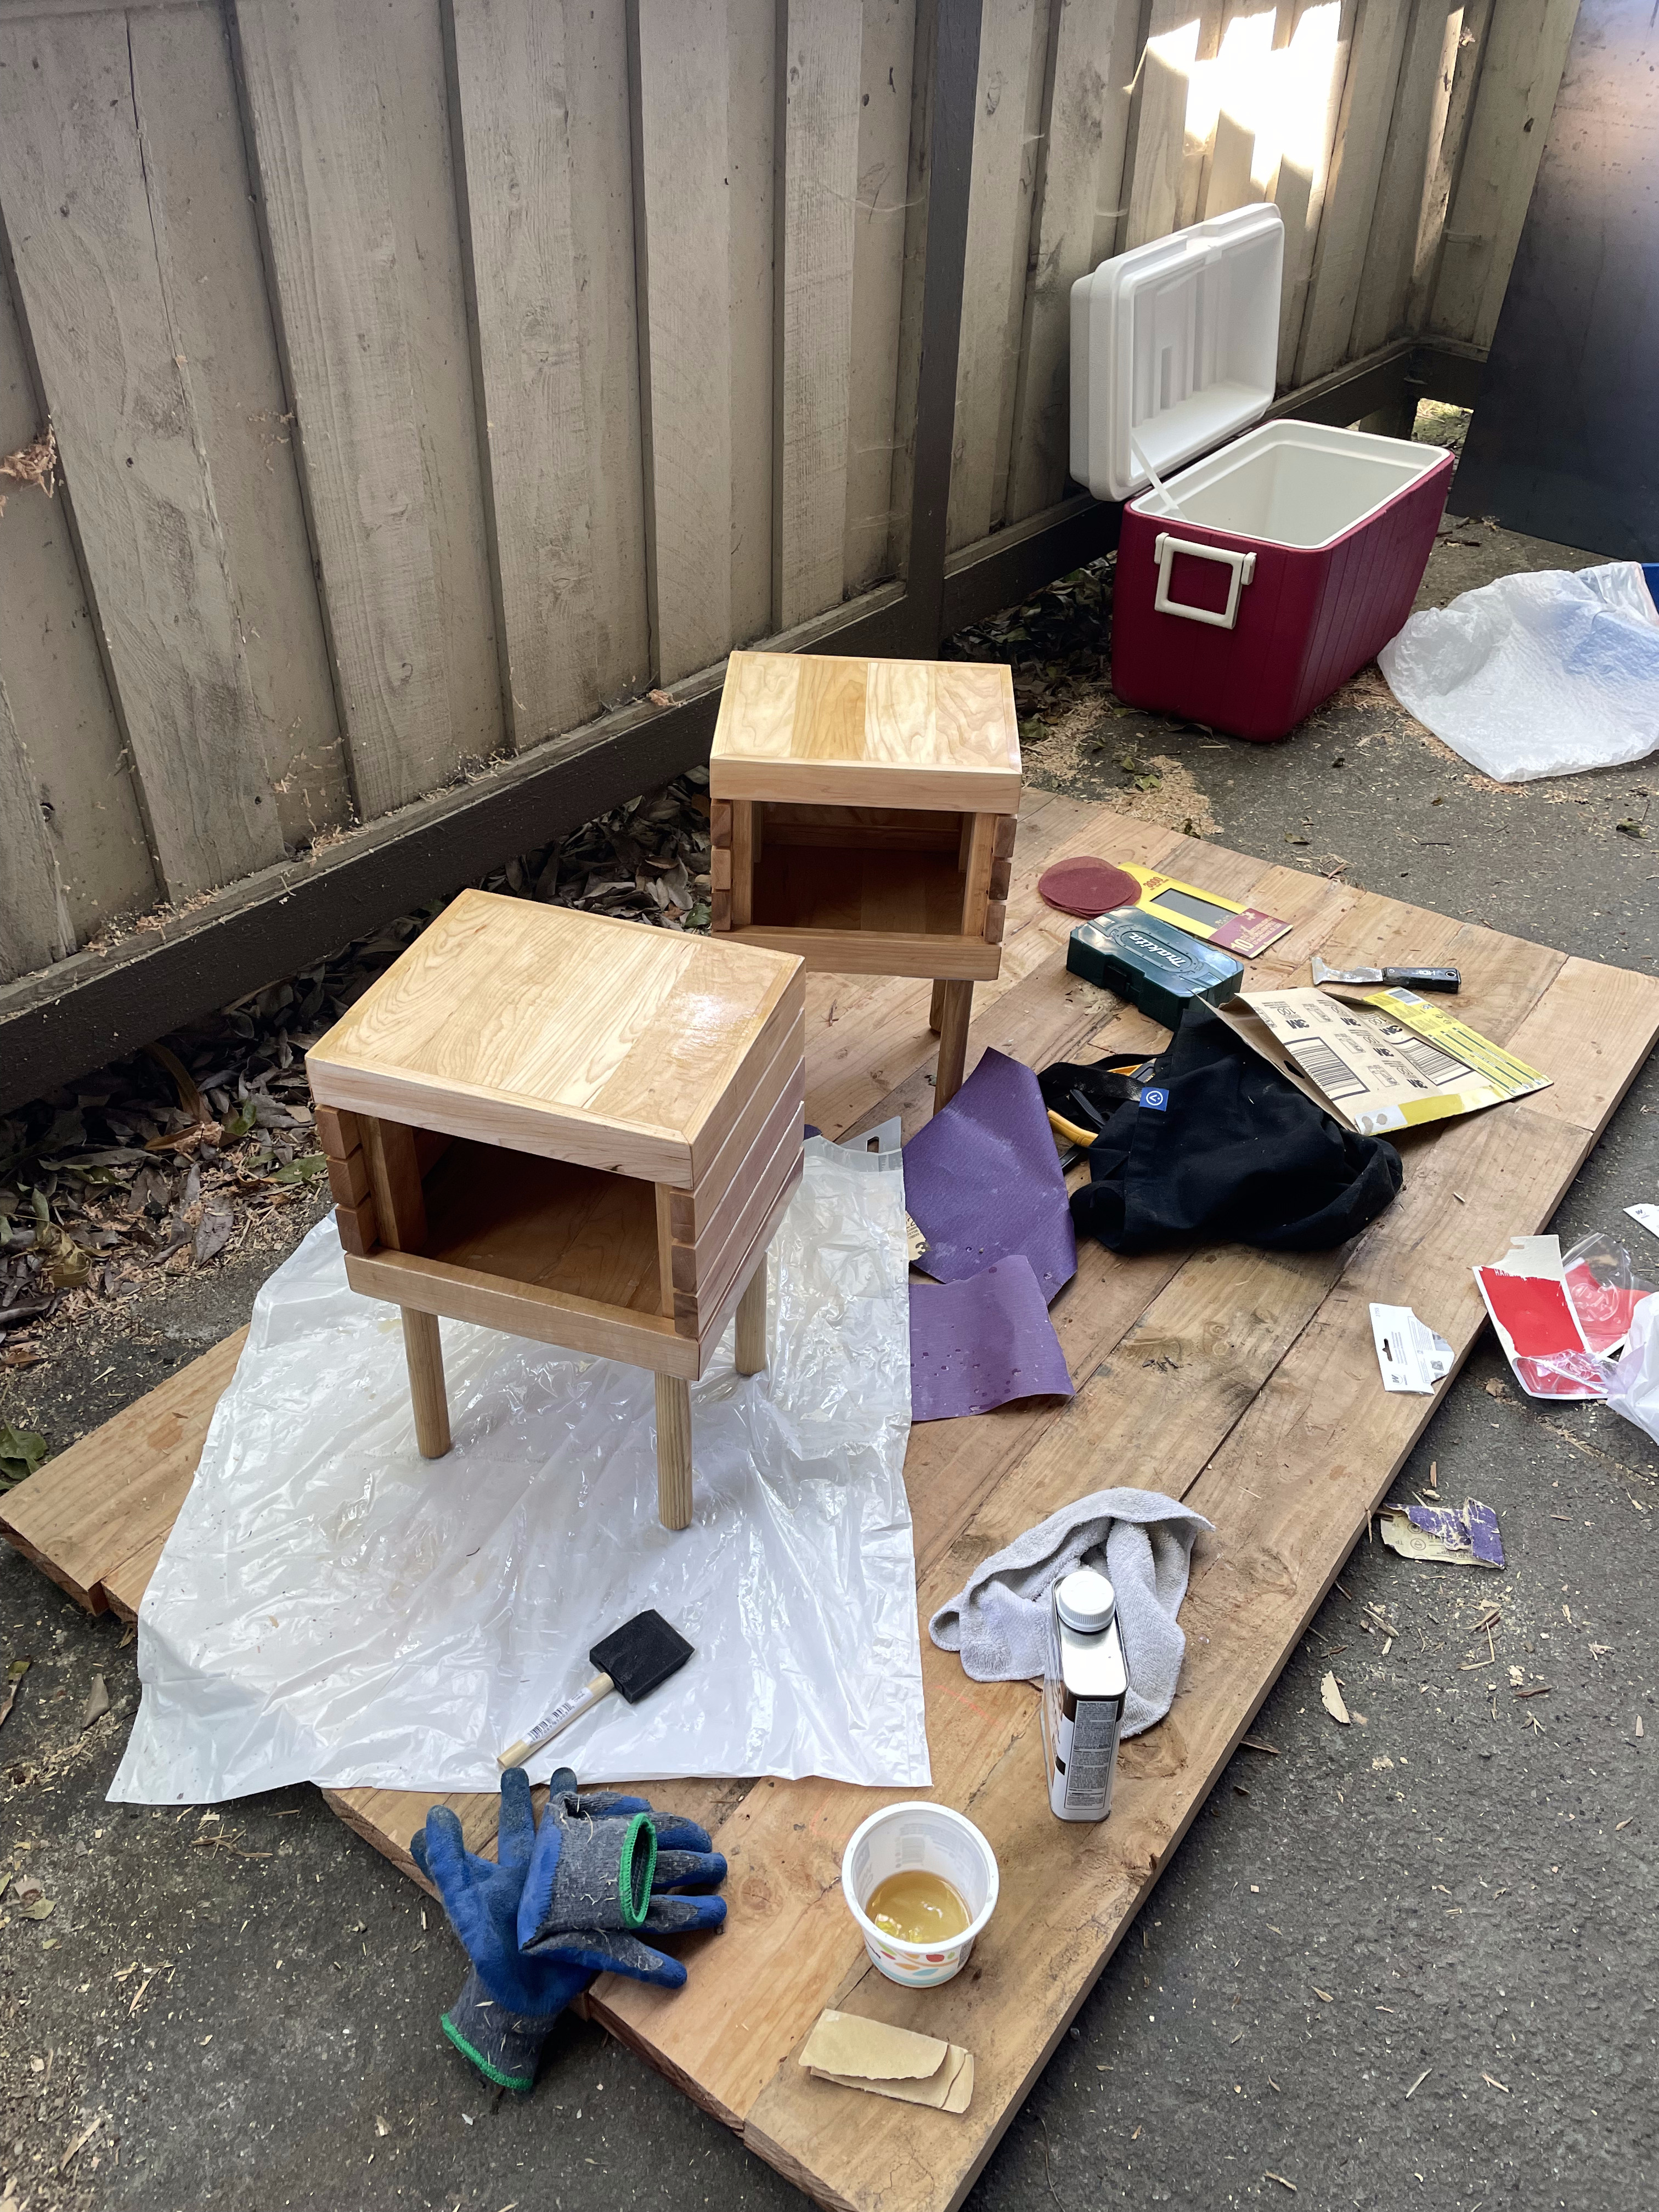
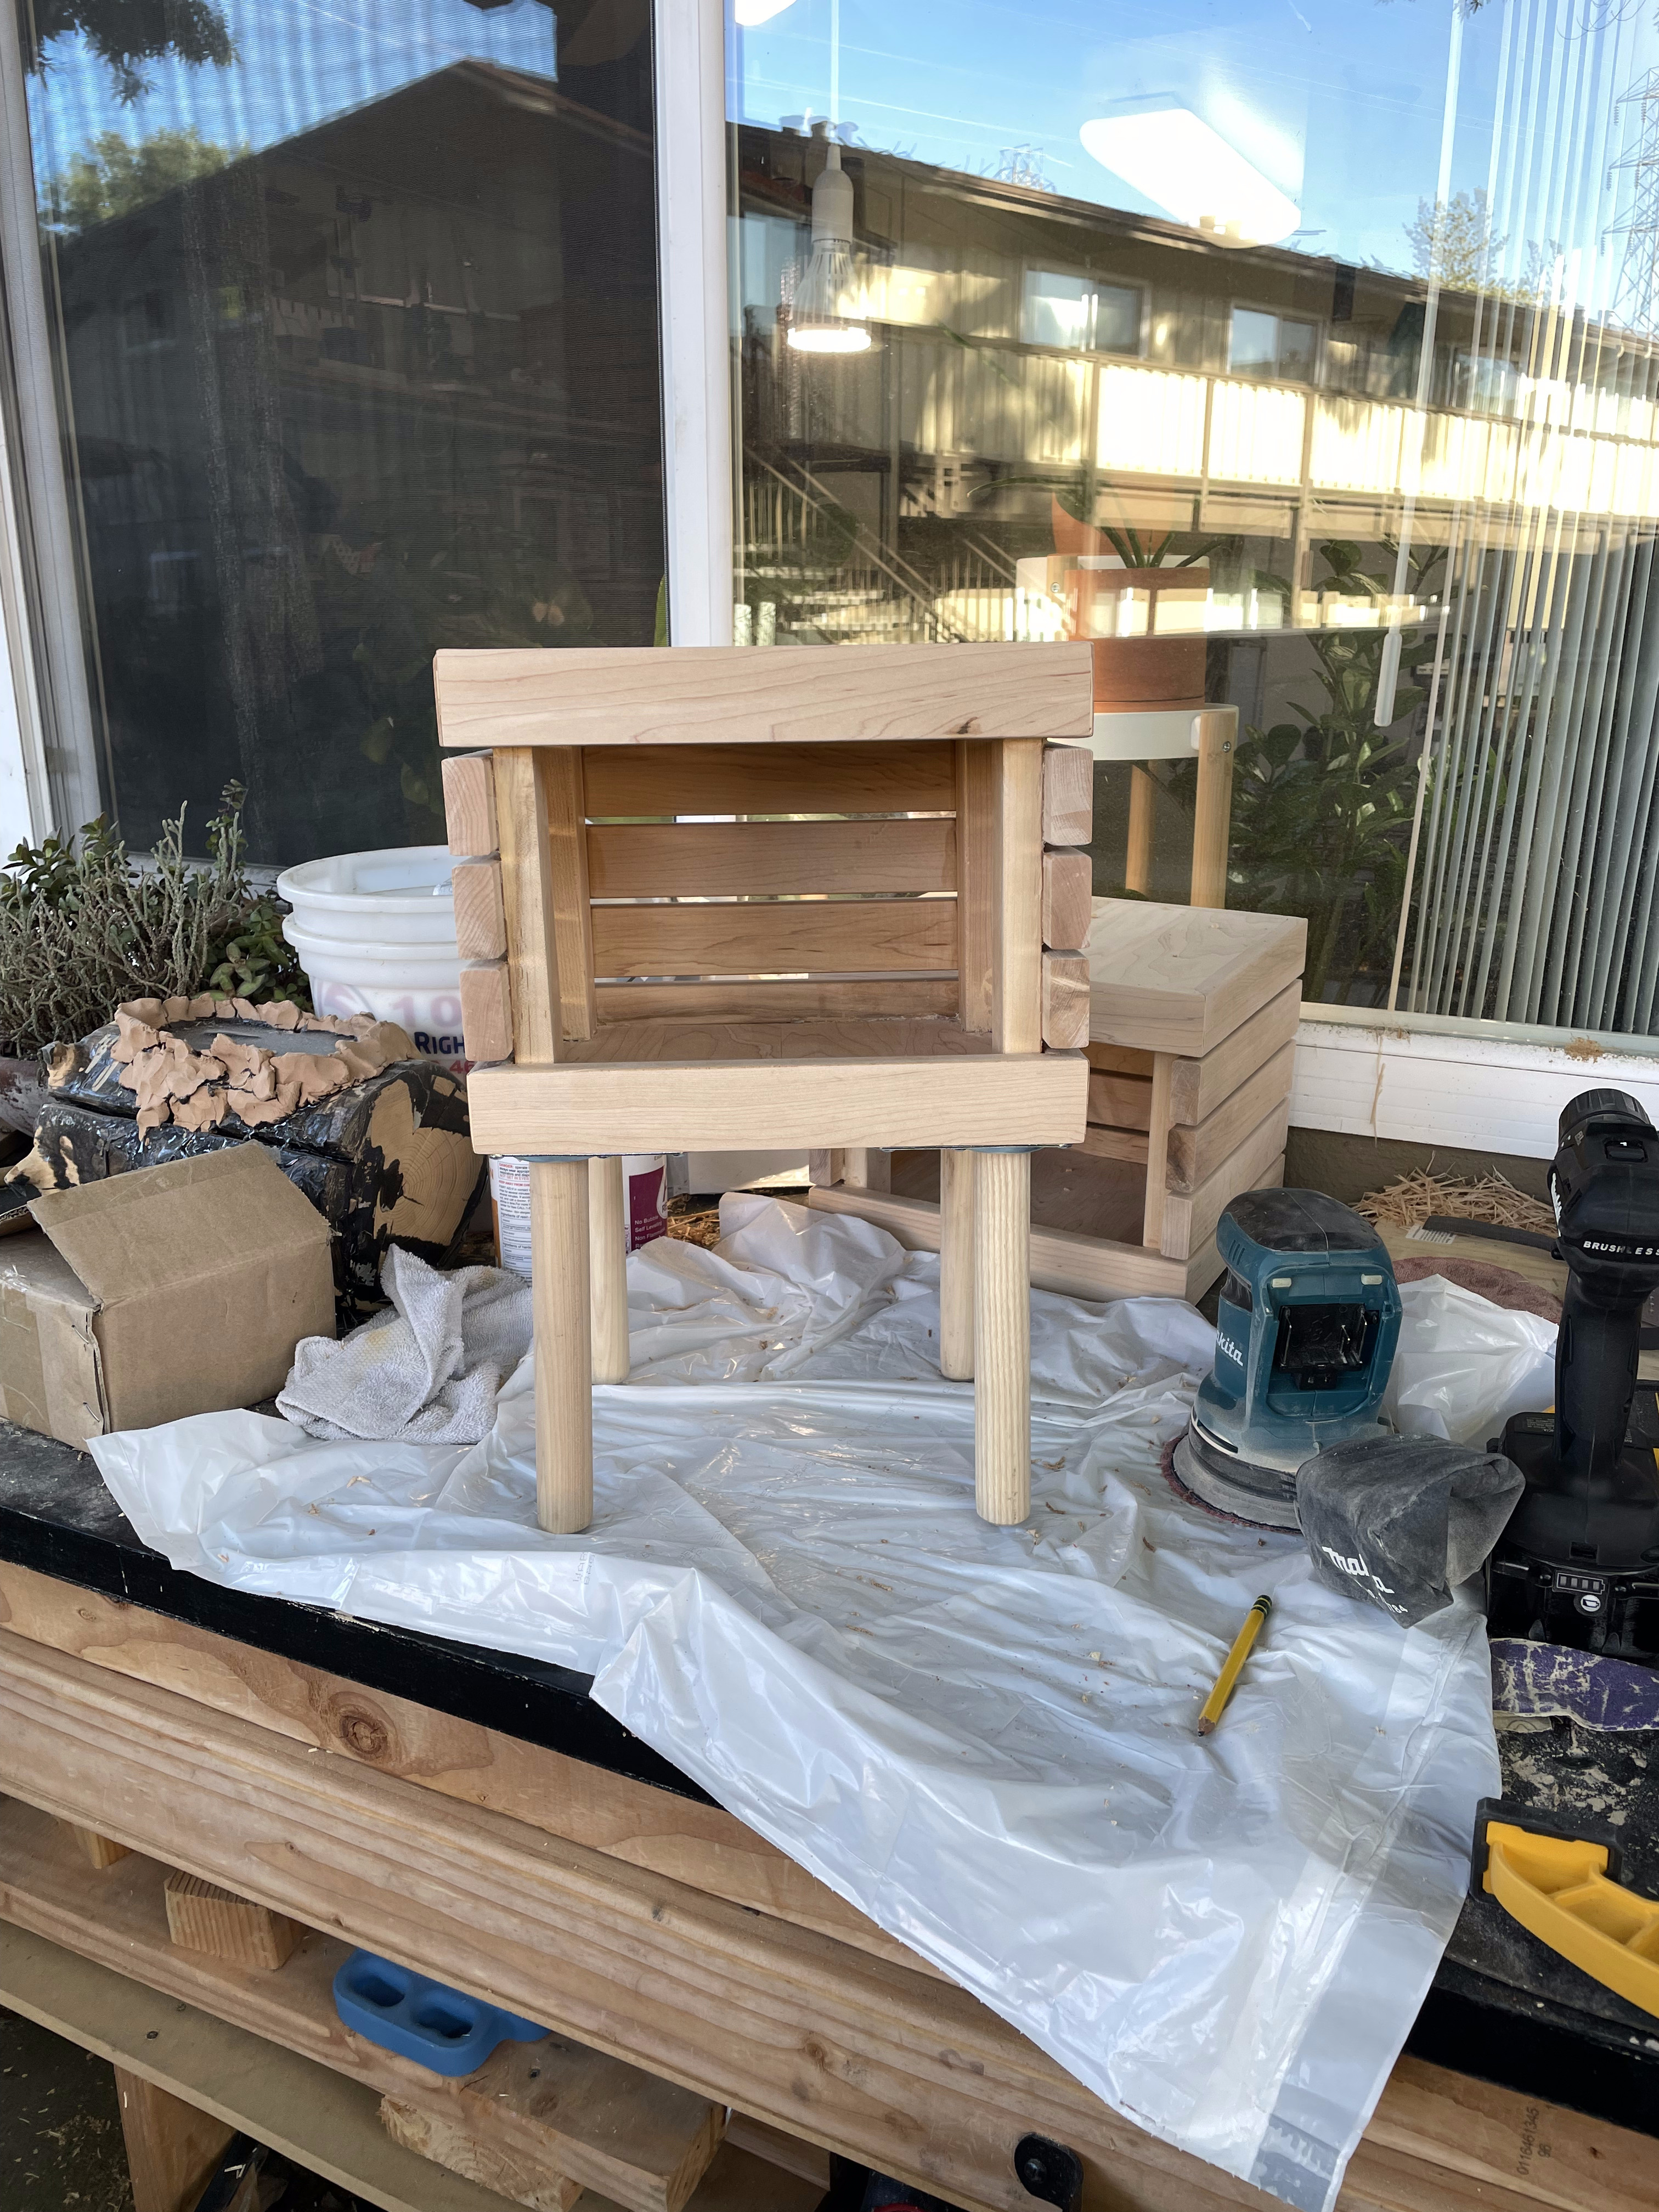
I decided to try something different and use Danish oil for these. I like the natural wood tone, and it was super easy to use.

I’m pretty happy with these. They’re unique, look pretty nice and seem sturdy. And it’s cool to have something new built out of my old furniture.